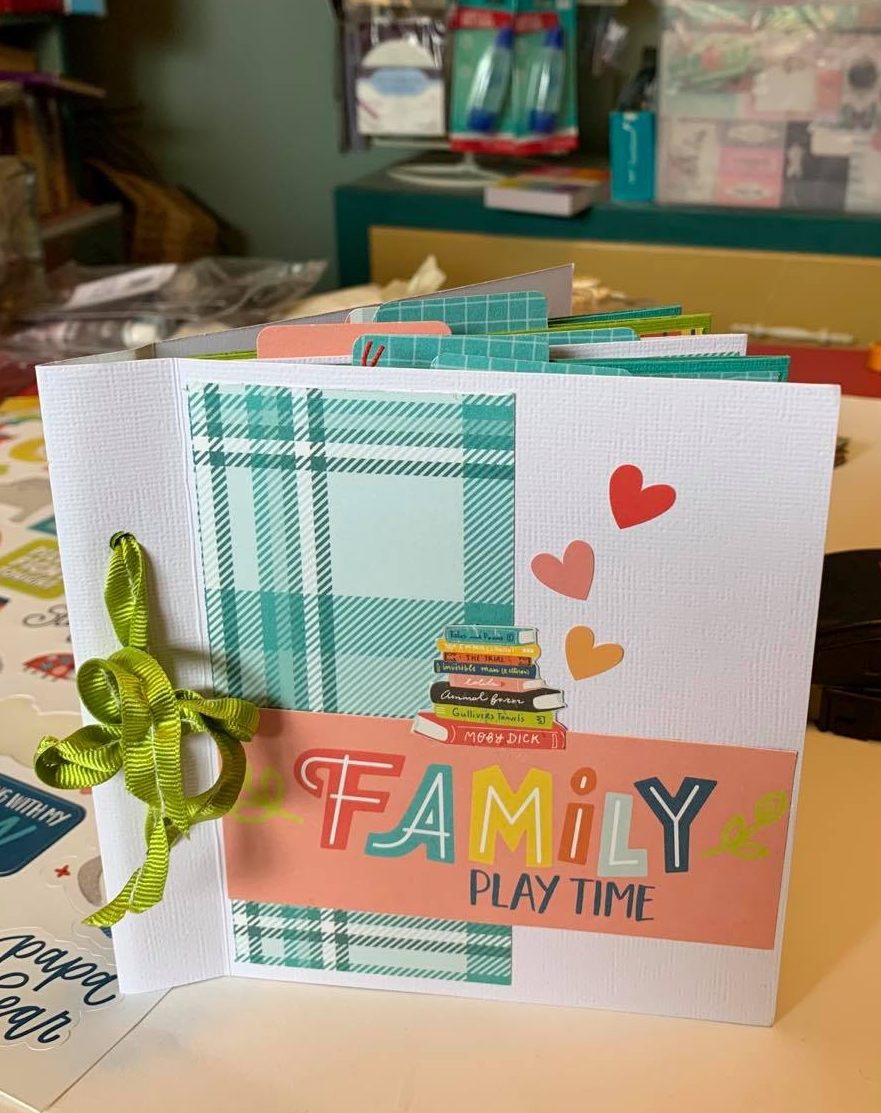
An easy to make and decorate mini album is the perfect solution. And a quick and easy mini album is even better.
If you’ve ever needed a last minute gift, look no more. This mini album is a perfect for a child’s birthday or to give as a hostess gift. Or maybe you just need somewhere to put your latest vacation photos.
This album is so quick and easy, both to make and decorate. In fact, I think that’s mostly why I like it so much; for its simplicity and yet, with a few quick adjustments, it becomes a unique one-of-a-kind scrapbook album.
What to use to decorate a mini album
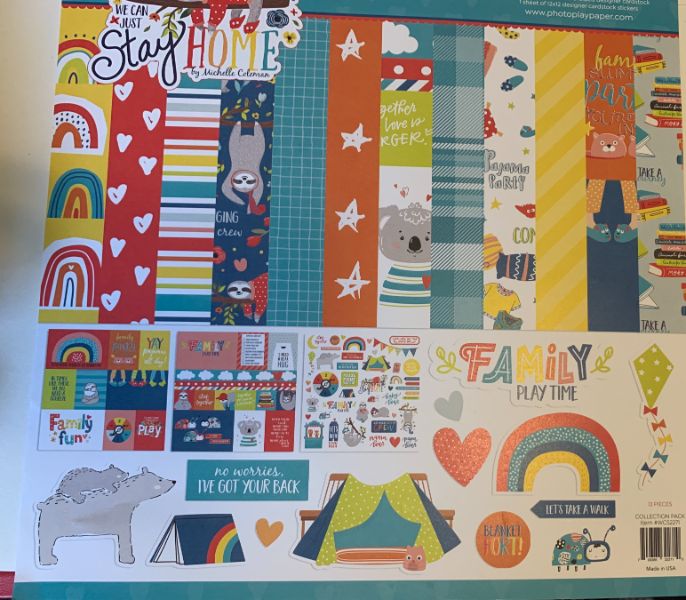
I used Photoplay’s We Can Just Stay Home paper pack to decorate this album.
Of course, you can use any papers you want. Use a package you’ve had around forever in your stash. Use your scraps.
Collection kits are great because everything is coordinated plus they usually have plenty of quotes and embellishments for decorating your project.
How to measure mats for a mini album
I measure my pages to be sure of the size of my mats; 5” wide by 5-3/4” tall. I knew that I wanted to cut my mats to 4-3/4” x 5-5/8”.
Of course I make mistakes too and, even knowing the measurements, I cut some pieces too small!
That’s why I might recommend you cut a mat or two bigger rather than smaller as you can always trim it to fit once you doublecheck. I like to have the same amount of space showing around each edge.
That’s not to say you can’t fix a piece that you’ve cut short. Isn’t that what scraps are for?
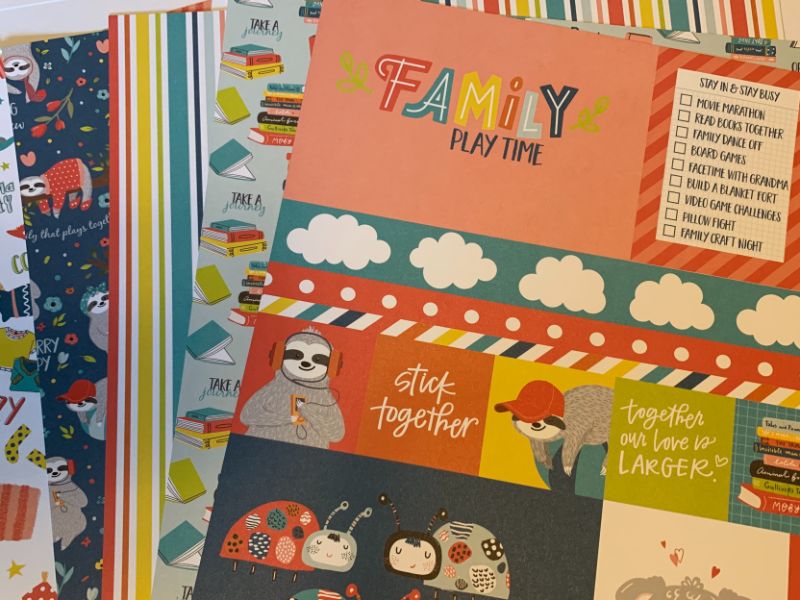
My papers are double-sided so I’m able to cut two from each sheet. In order to get the sizes I need, I have to cut into some of the other quotes on the sheets.
Are you like me? Are you thinking, “Oh no! She’s wasting it!”
Ha. I have so much “wasted” paper in my paper bin simply because I never wanted to cut into the sheets.
I no longer worry about that now. And if you’re like me, you’ve got enough paper; you can afford to waste–or I should say, use–a sheet.
So now I use them. Besides, this particular kit has TWO of each sheet so I still have another sheet.
It’s okay to cut paper
With the quotes not being the actual size of my pages, I have to do some paper-piecing to make them fit in the spaces I want them.
Right about now, you’re probably freaking out, thinking this is way too complicated!

But hey, don’t make it complicated for yourself! If what I’m doing sounds like too much fussing, don’t do it.
Heck, you can leave the pages blank if you want!
Just add photos and it’ll still be fine.
As for those mats I cut too short earlier, I still want to use them and they’re easy to fix. I simply add a coordinating strip to the bottom edge. It looks like I planned it but now, everytime you see a project with a strip along the bottom, you might wonder; “Was that a mistake or was it planned?”
Ha! It doesn’t matter. My point is I want you to take that as a lesson in watching your measuring marks. It’s so easy to cut at a ½” mark instead of ¾” mark.
And it’s especially important to watch if you’re on your last piece of paper. My advice: double check before you cut.
Adhering the page mats
Once my photo mats are all cut, they are ready to adhere. They look so nice and clean so I leave them. And that’s unusual because I do have a tendency to want to ink the edges of everything I touch.
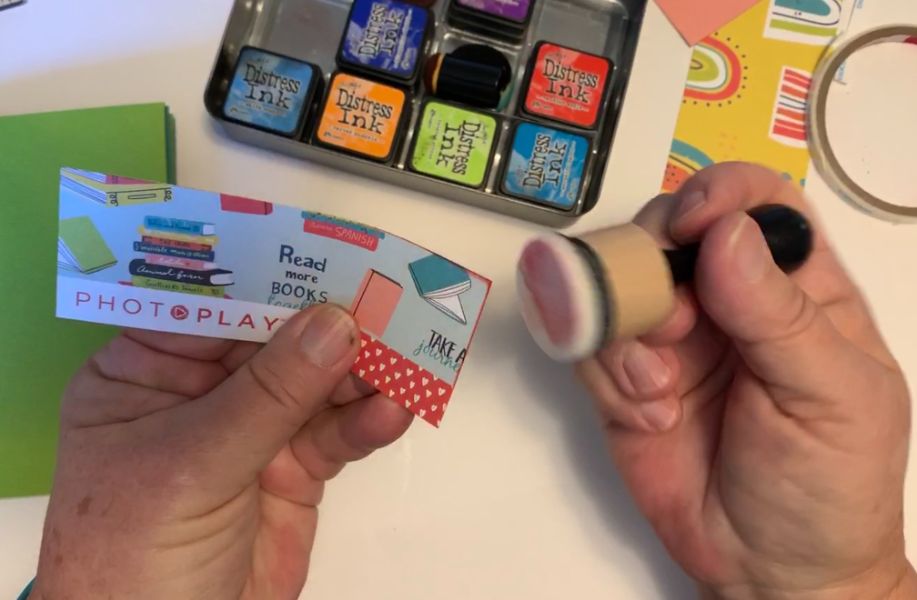
Do you like inking? Let me know in the comments if it’s something you’d like to learn more about.
I work my way through my mini album from front to back. I turn the book around when I reach the back pages so that I can get it to lay flat while I work.
If you flip your project like this, beware! It’s another easy place to make mistakes so just make sure you attach your patterned papers with the patterns going in the right direction.
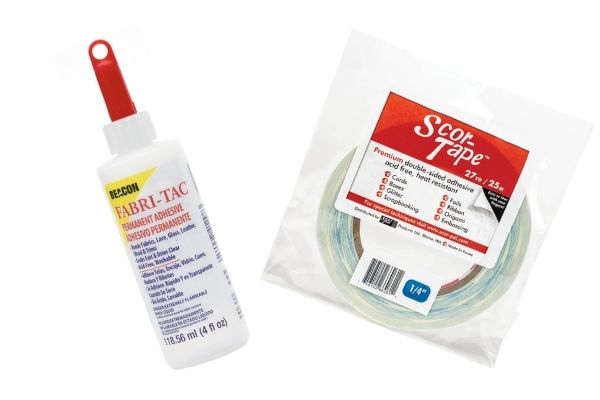
I work back and forth using both my Fabri-Tac glue and my Scor-tape. I highly recommend both of these products. You may have your own favourite adhesives.
I’m not a fan of glue sticks, simply because I’ve seen the glue on some of my earlier projects dry out and the projects fell apart.
That’s okay for a project you don’t expect to stay around forever but I like to think mine will stay around.
Maybe they’ll even show up in a museum some day. Ha! (Psst. I told my kids their inheritance hinges on them keeping my albums!)
Creating Tags
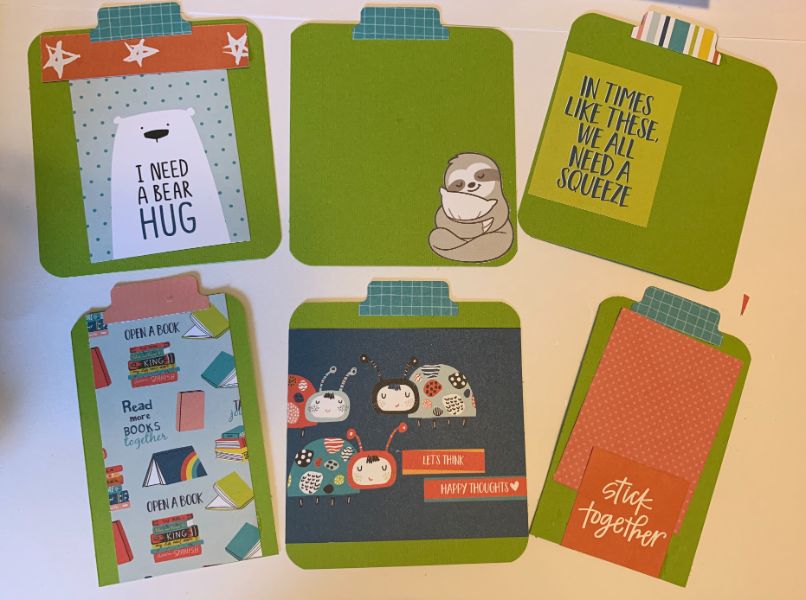
Back to the album; I make tags and mats to insert into the pockets. These pieces will be great for adding journalling and extra photos into the album.
I cut all the tags out of one piece of coordinating Bazzill cardstock. (I cut 4 at 4.5″x5″ and two at 3-1/4″x5″). Then I decorate them, using some of the cut-aparts and stickers that came with the paper pack.
I decide to round some of the corners on the tags. This is NOT necessary so do whatever appeals to your eye.
Thoughts on Collection Kits
Most collection kits include some embellishments or cut-apart quotes and images. You can also purchase coordinating embellishments with many paper collections.
Don’t be afraid to go through your own stash to find some coordinating items. You’ll be surprised at what goes together. And it’s fun to revisit your stash and make something new out of it.
Remember those scraps you saved because you loved that line? It’s a chance to use them all over again.
I like to take a clear container and add a selection of matching papers and embellishments that I think will match the project I’m working on. It’s like creating your own one-of-a-kind collection kit.
It will also lighten your load immensely when you’re hauling supplies out to a crop.
Click here to get a free printout of directions to make this quick and easy mini album.
While I slip tags into my mini album pockets, I may also stick extra photos in the pockets as well. You could even mat the photos and use the backside of the mats for journalling.
It’s surprising how many photos you can fit into a mini album like this.
A final look at the pages
In the end, here’s how my pages look:
P. 1 (inside cover) & 2; pocket on the right holds a tag.
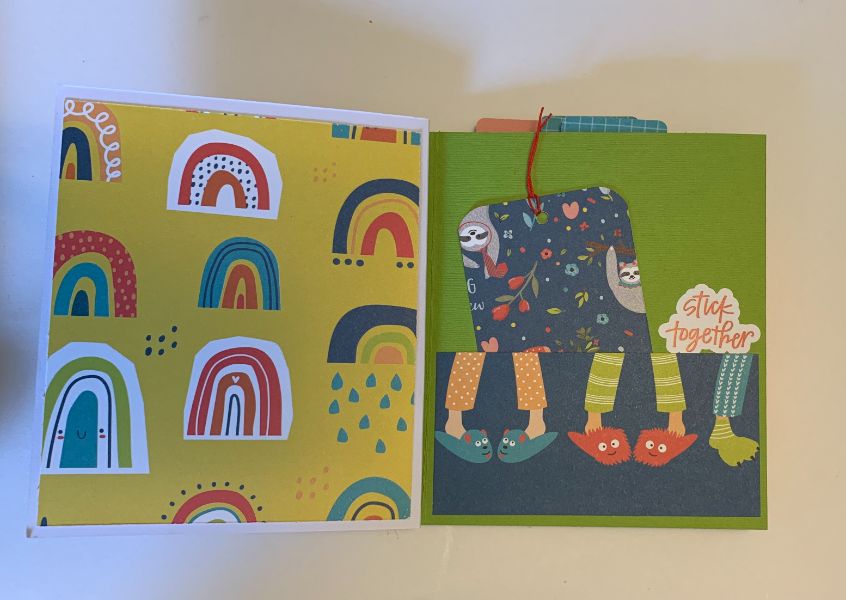
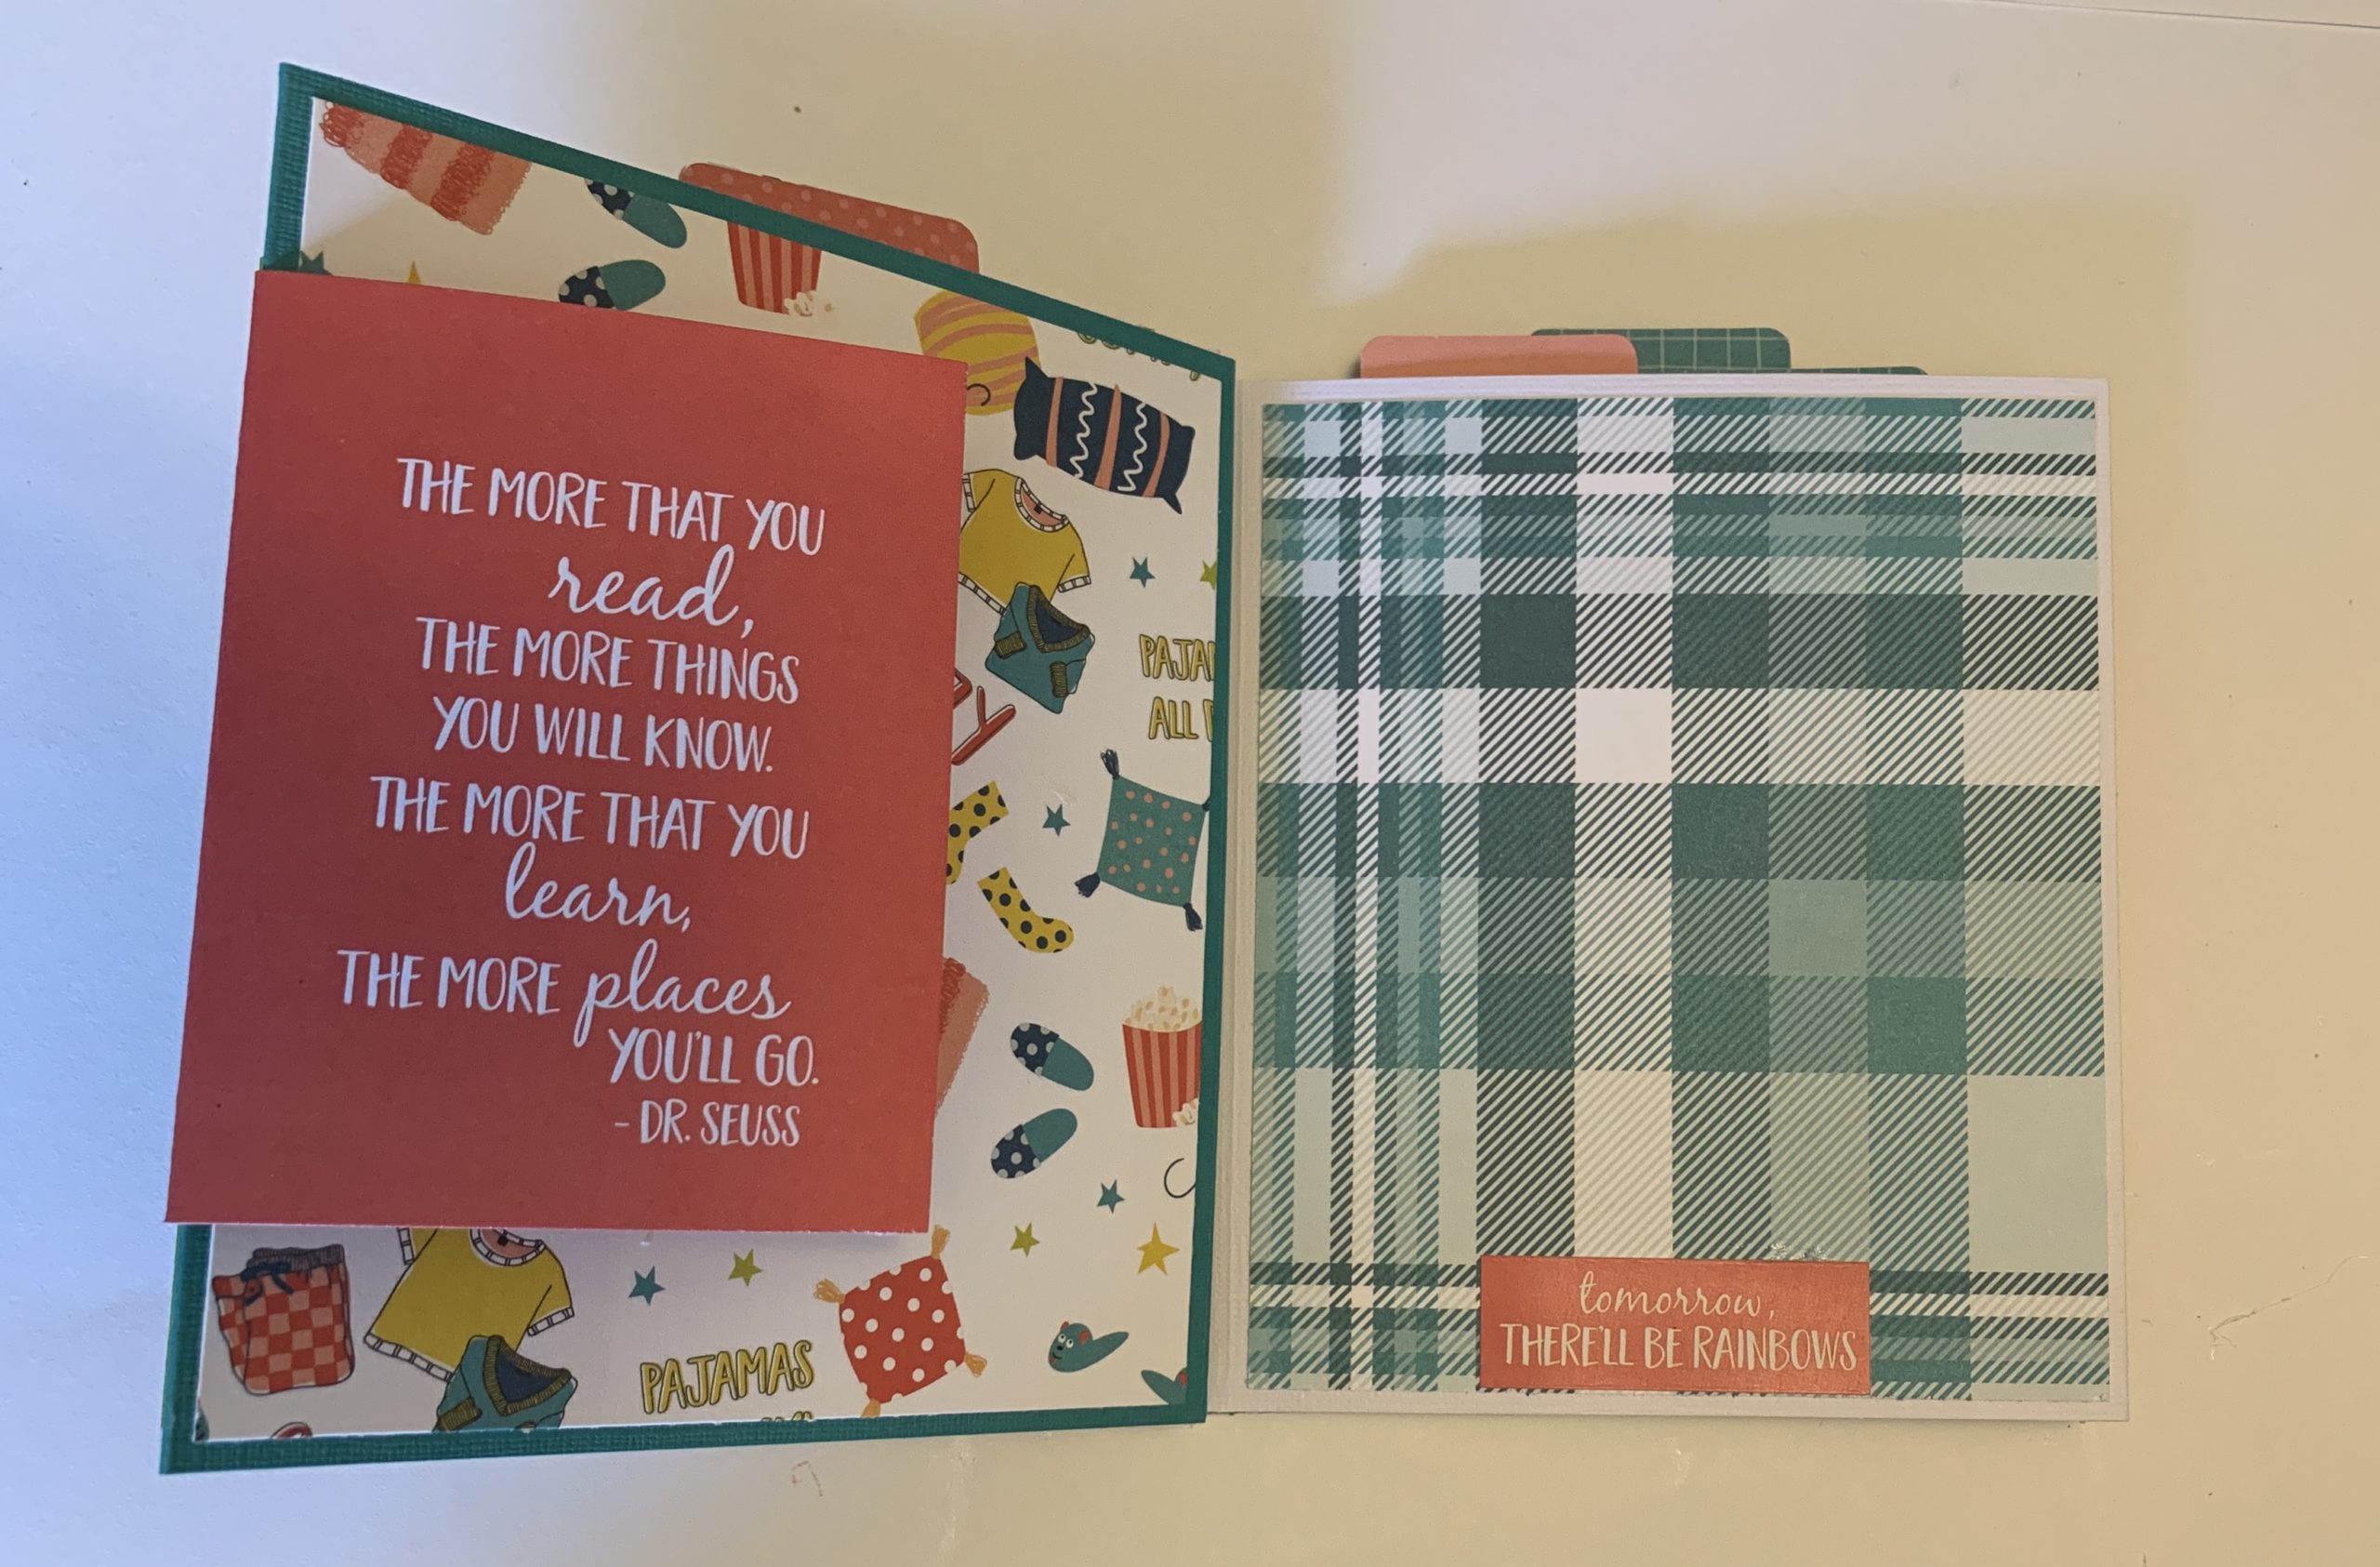
P. 3 & 4 – The image is a 3″x4″ piece but I cut it along with another the same size as one piece and fold it in the centre. I glue this side down but when you flip the page, you’ll see the other side opens as a secret spot for journalling or more photos.
P. 5 & 6; here’s that 3″x4″ red card that flips open for more photos or for a secret journalling spot.
P. 7 & 8 – Can you find my mistakes here?
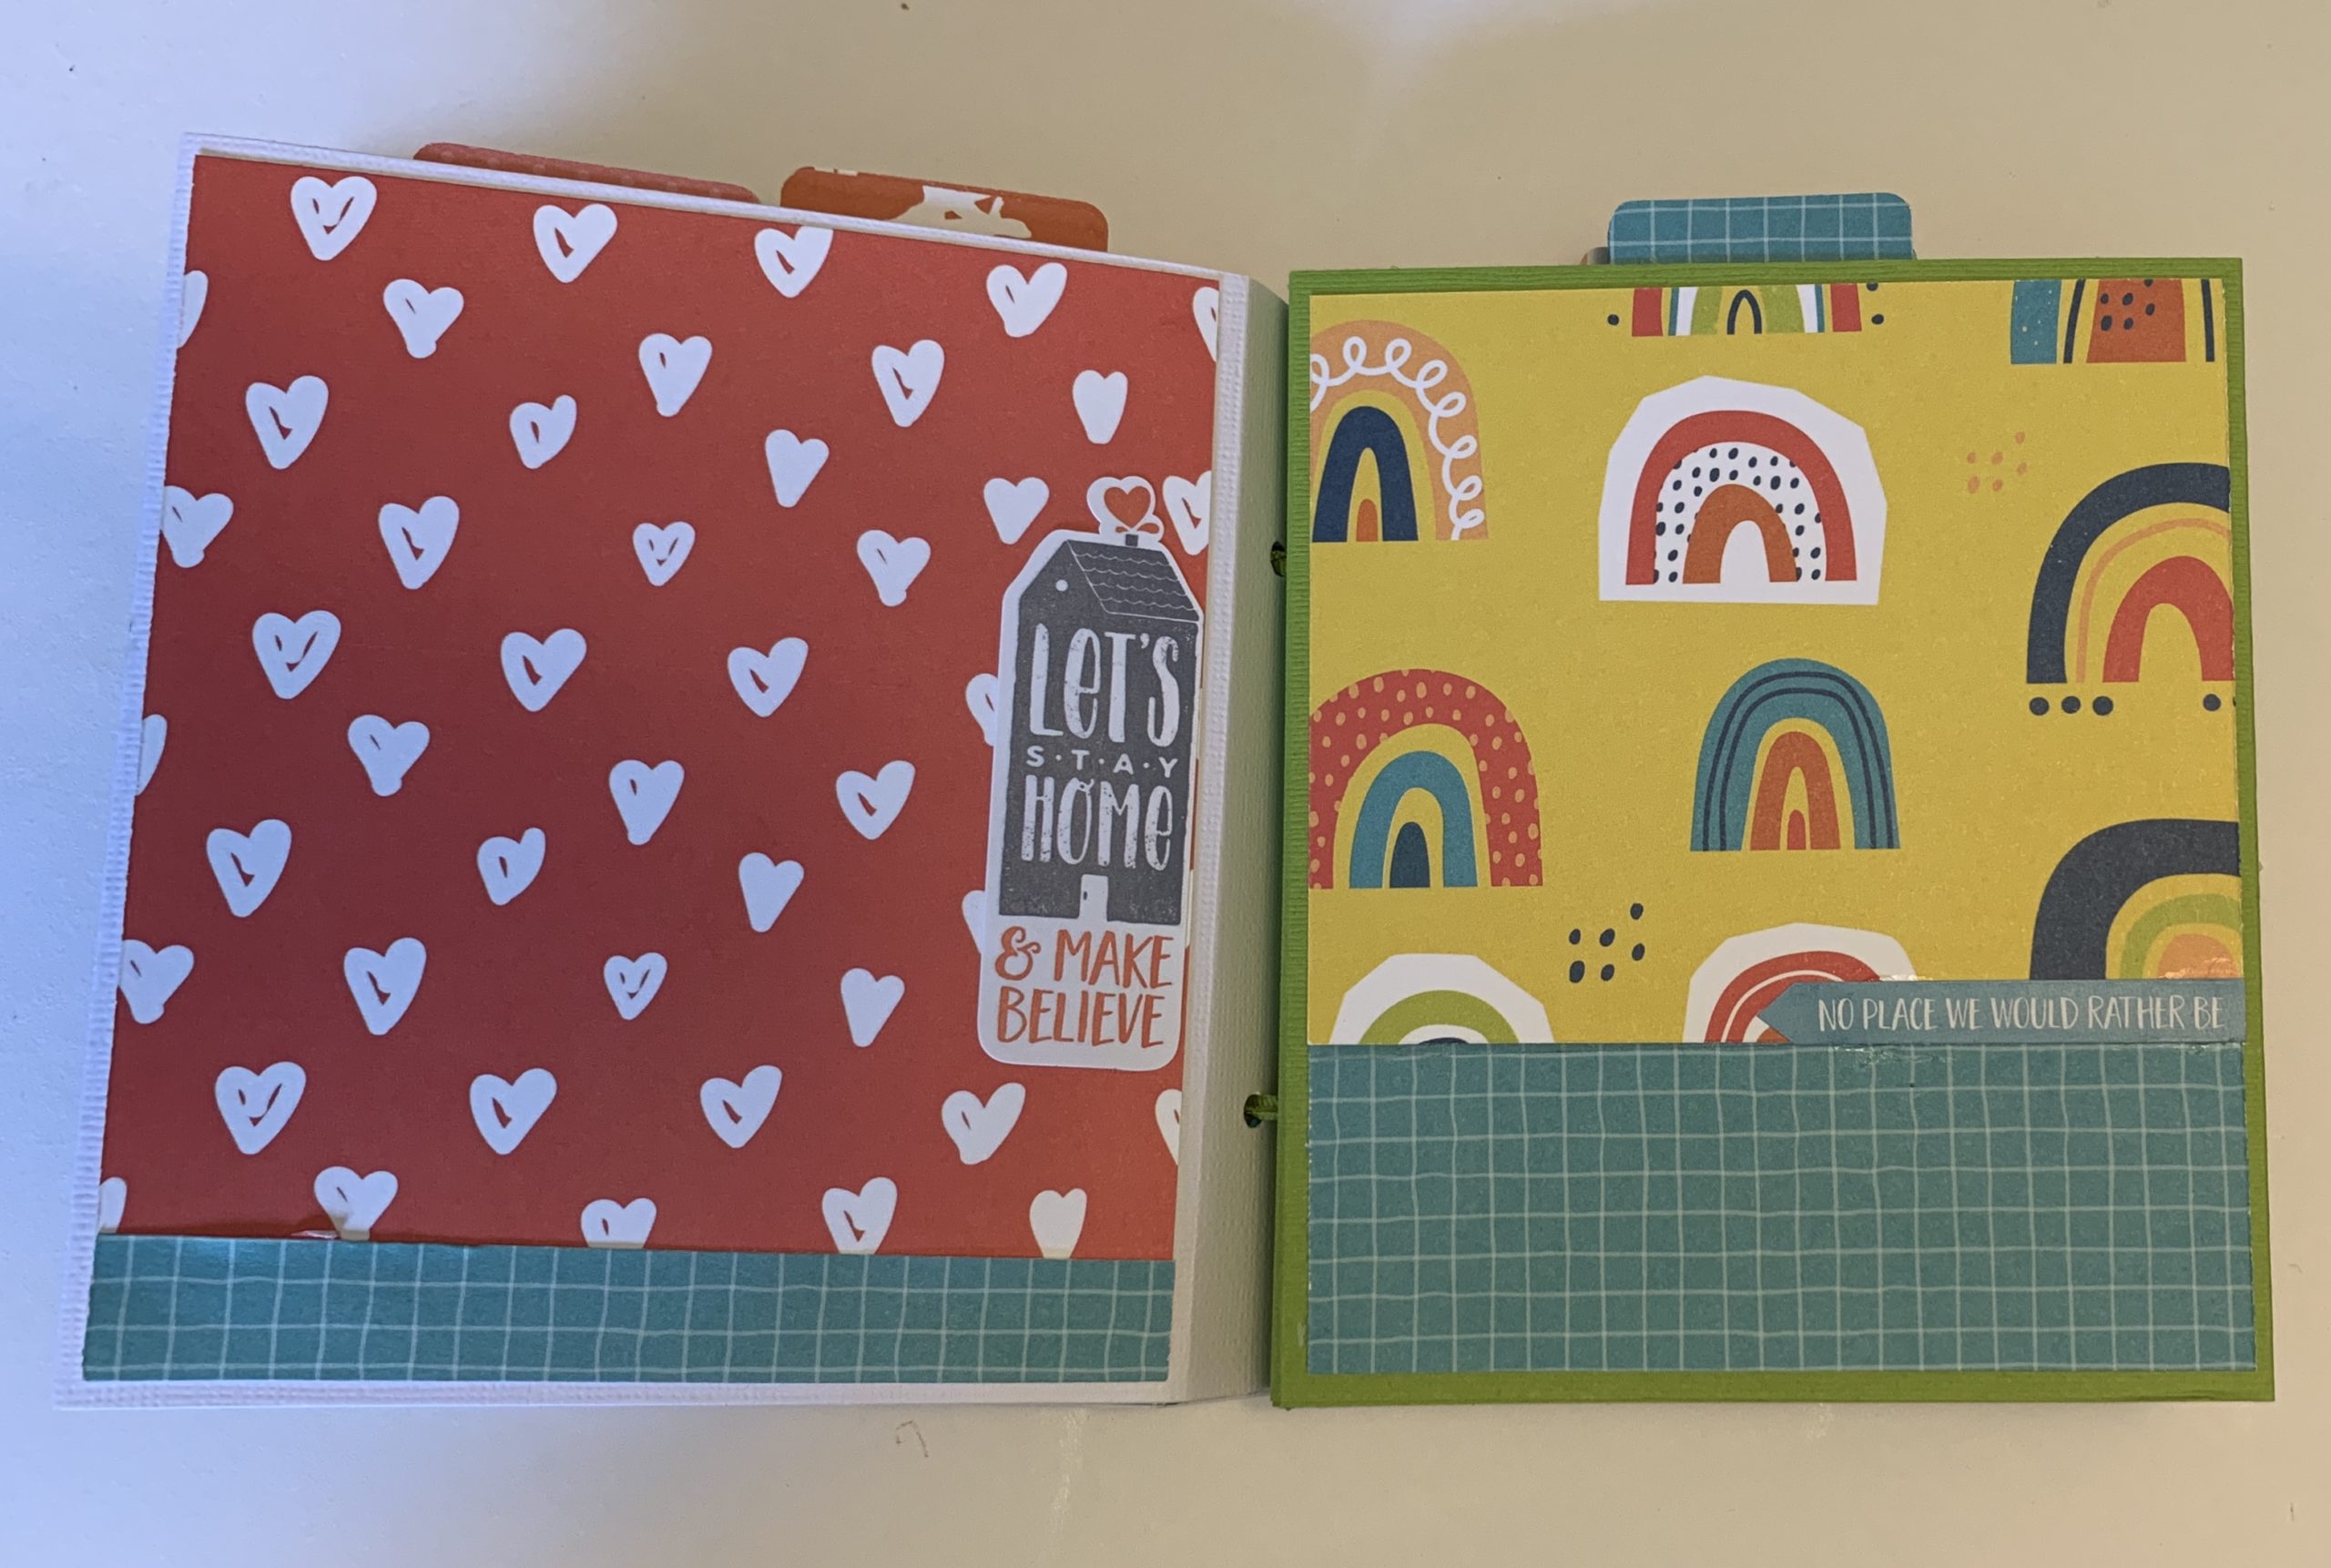
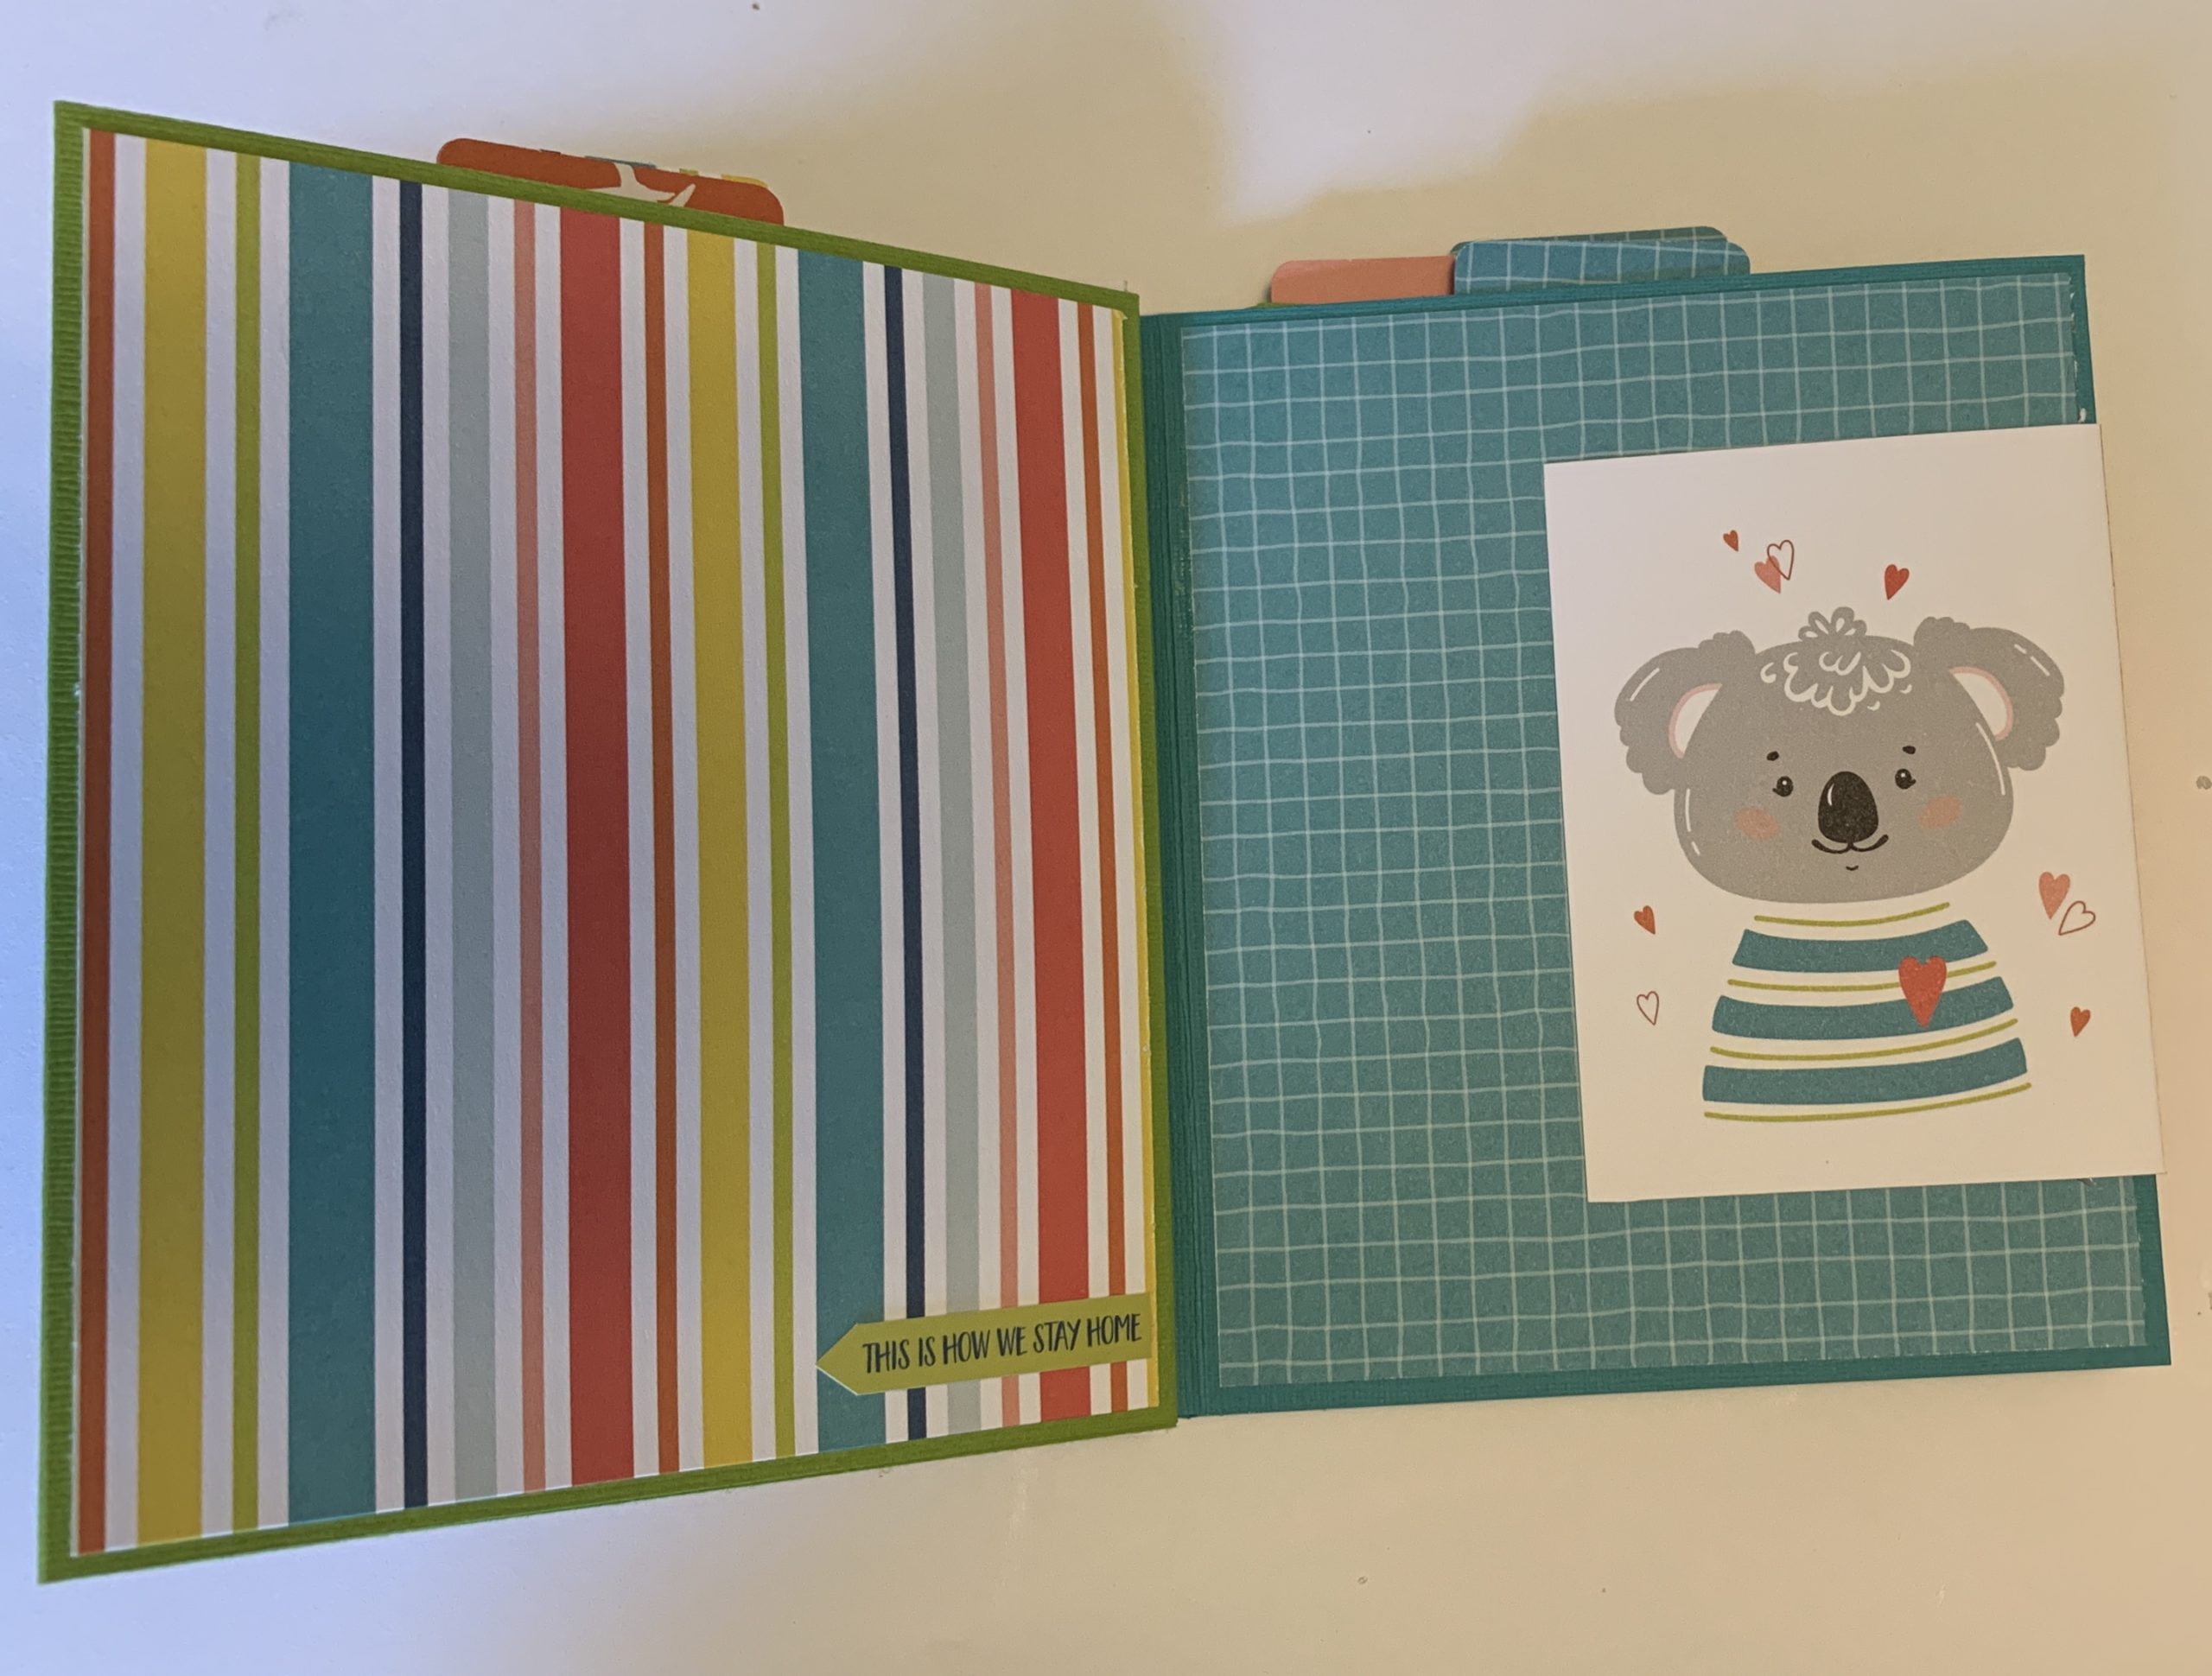
P. 9 & 10 – These are plain. I love those little flag stickers on the right-side page.

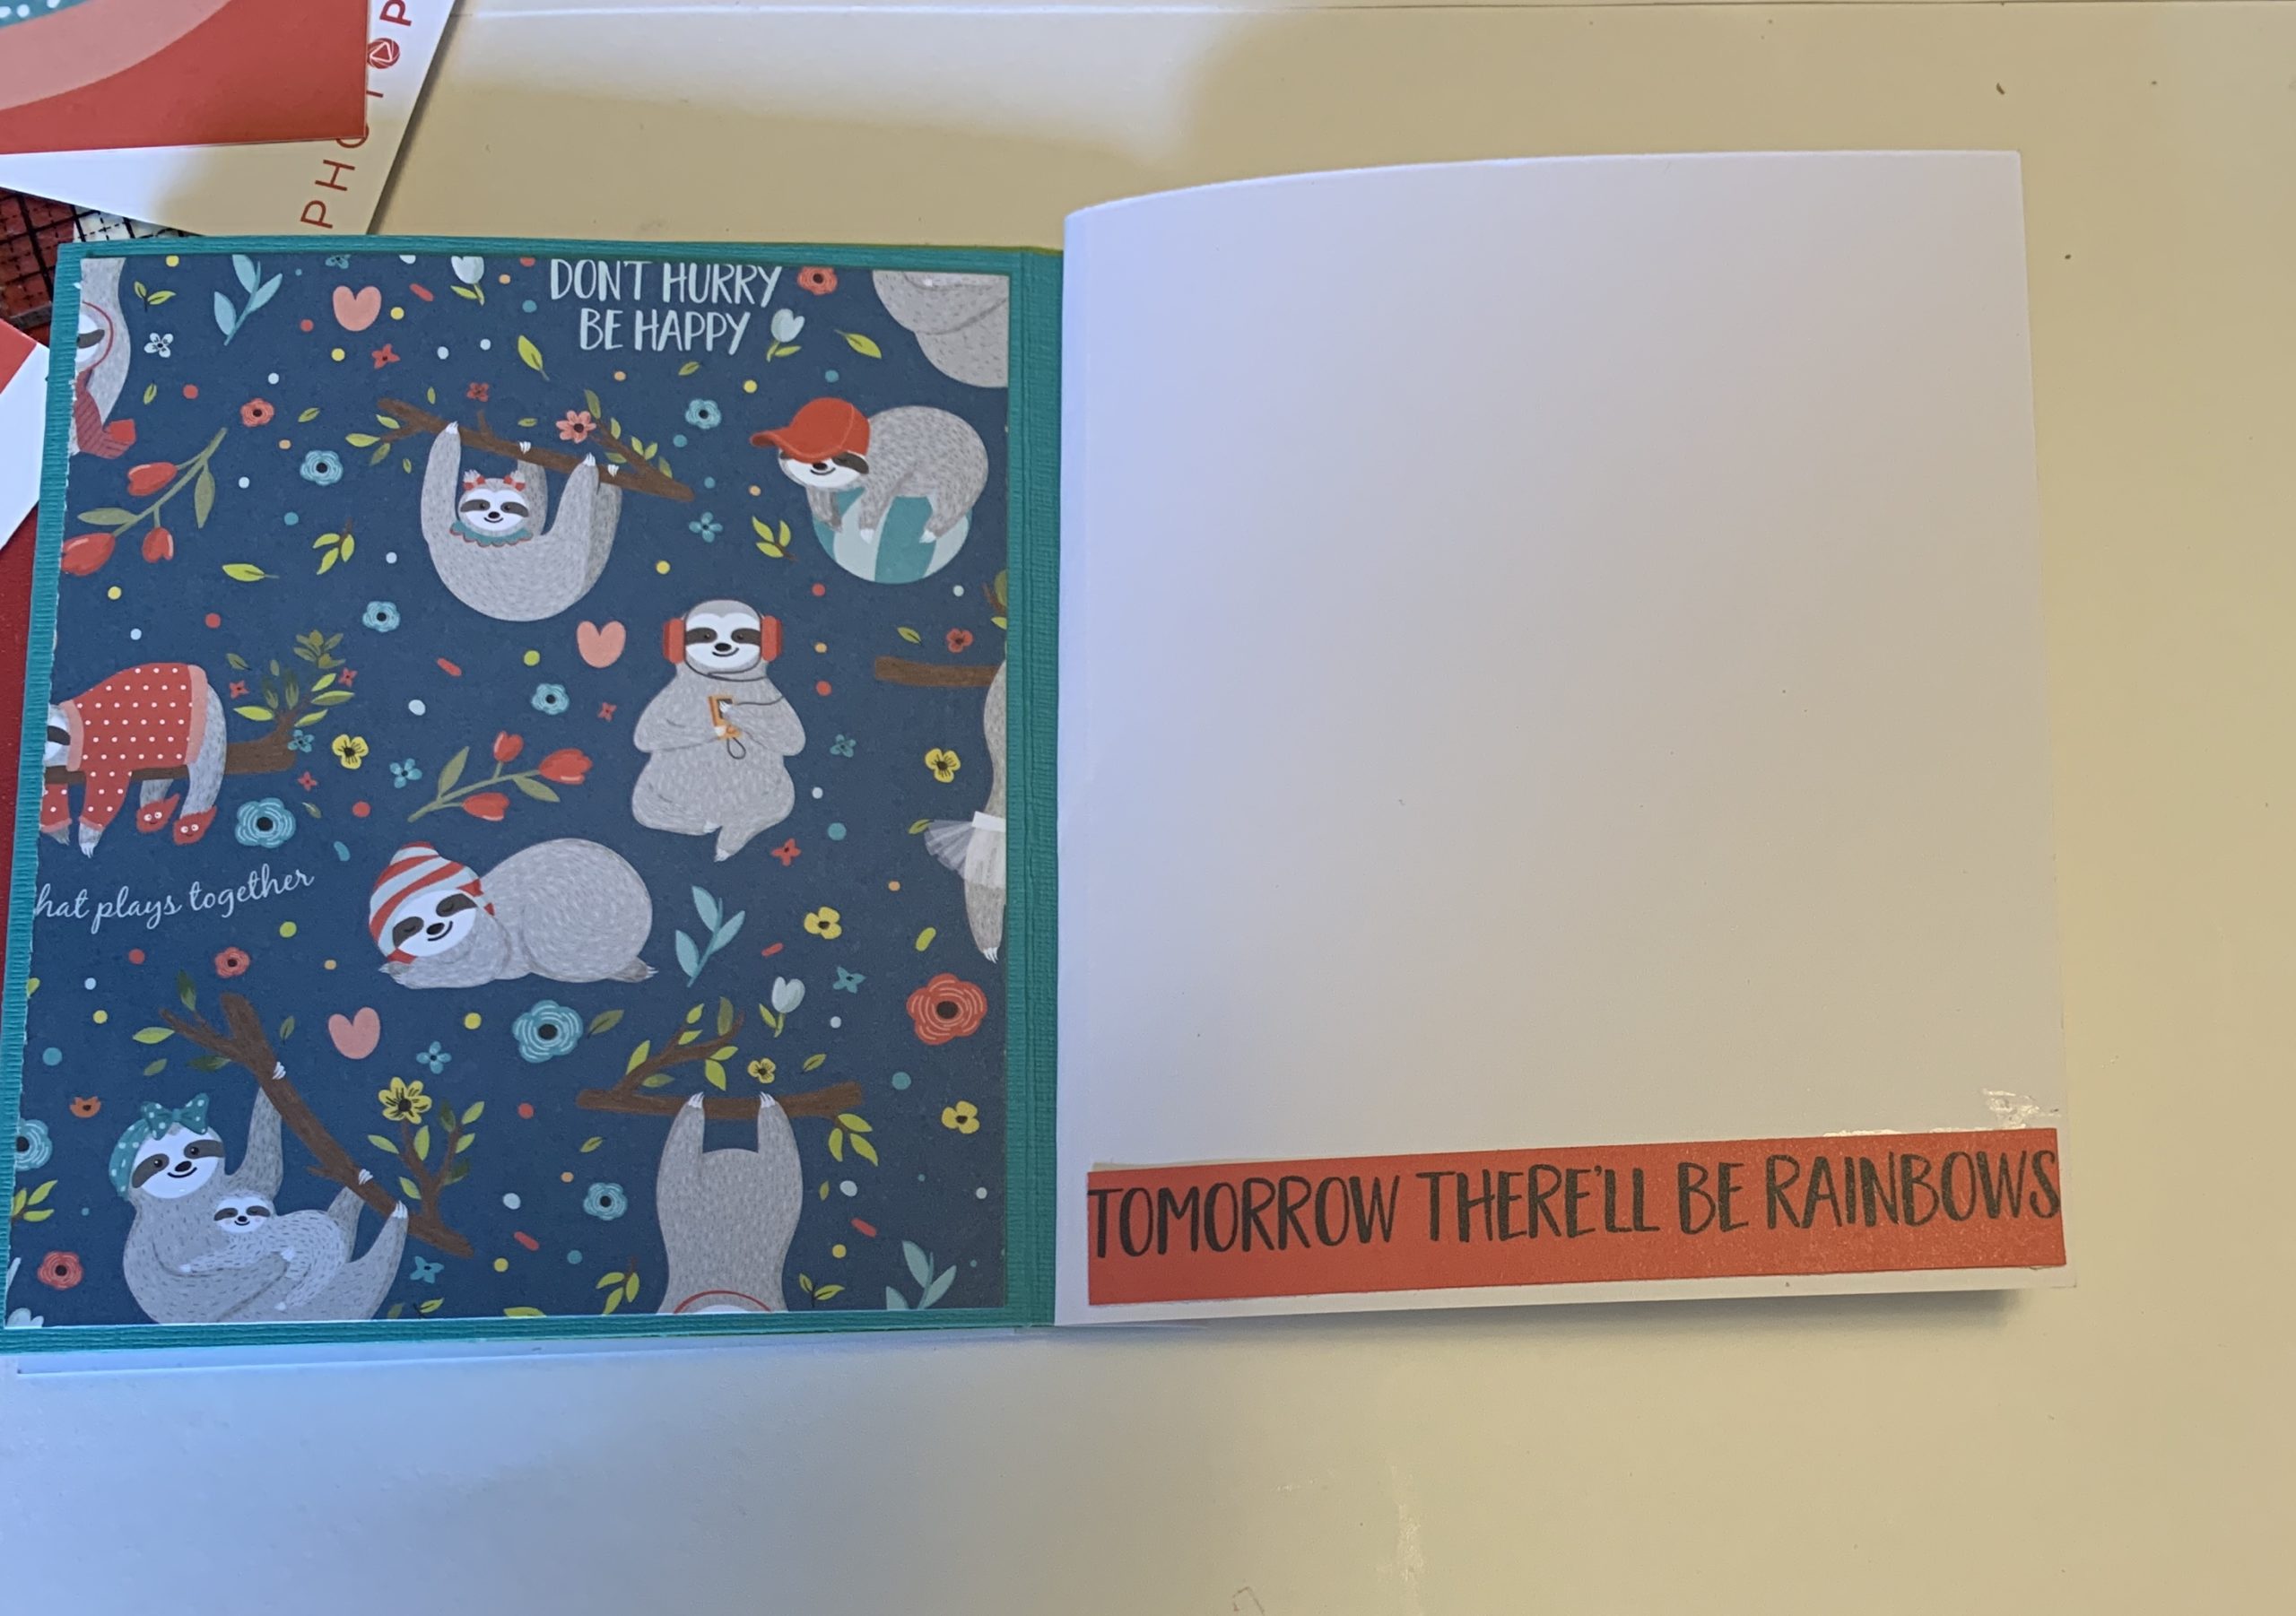
P. 11 & 12 – This is the last page and the inside back cover. I leave these ones fairly simple too.
Missed the original post with the instructions to make this quick and easy mini album? You can find it here.
It’s your turn; go make and decorate a mini album.
And then let me know how quick and easy it was. Also, be sure to share your photos of your finished albums with me.