It’s time to get our Christmas scrapbook cover details figured out.
I’ve been a bit undecided about mine and even if I don’t want to assemble the album, I should have an idea of how I will be doing it.
If you read Part 1 of this series, you’ll remember the storybook I’ve chosen for my scrapbook cover.
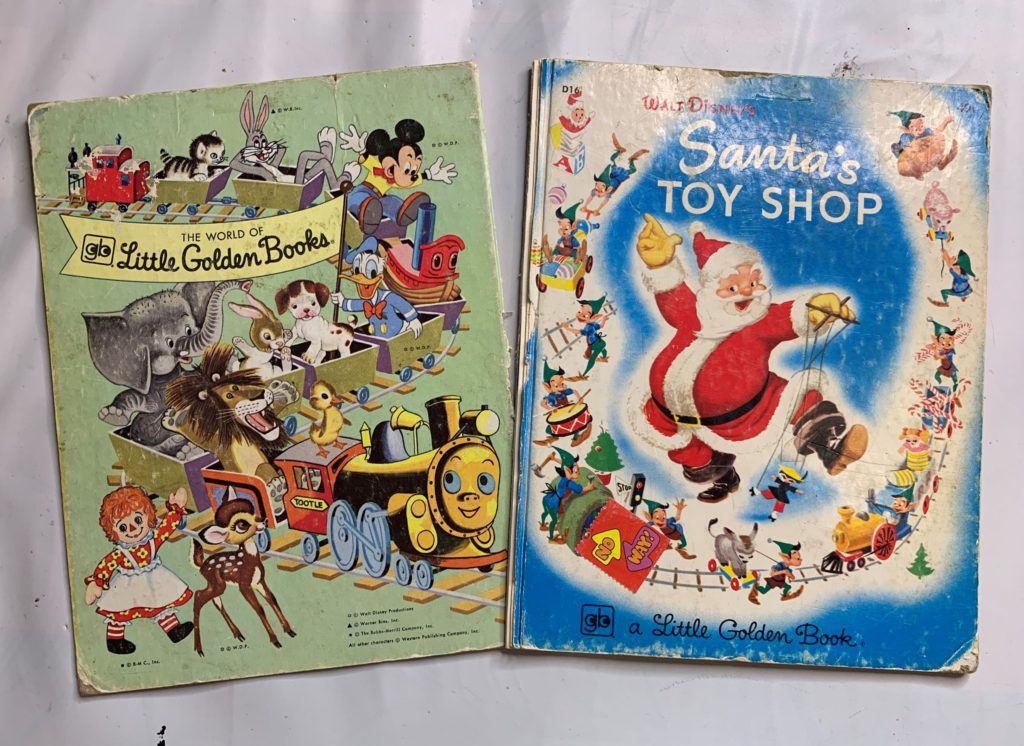
I like the image on the cover I’ve chosen but I started second-guessing as to whether the size is big enough.
This cover measures 6″ x 8″. If you’re a 12″x 12″ scrapbooker, you KNOW that’s not a lot of space. Still, most 4″ x 6″ photos would fit so long as I don’t lose any of the width with binding.
(To see part 1 of this series, click here.)
So I decided to stick with my choice.
I thought about how to bind my scrapbook and came up with four options. Let’s take a look.
1. Ring binding
Rings are a simple binding, one that could work for this project.
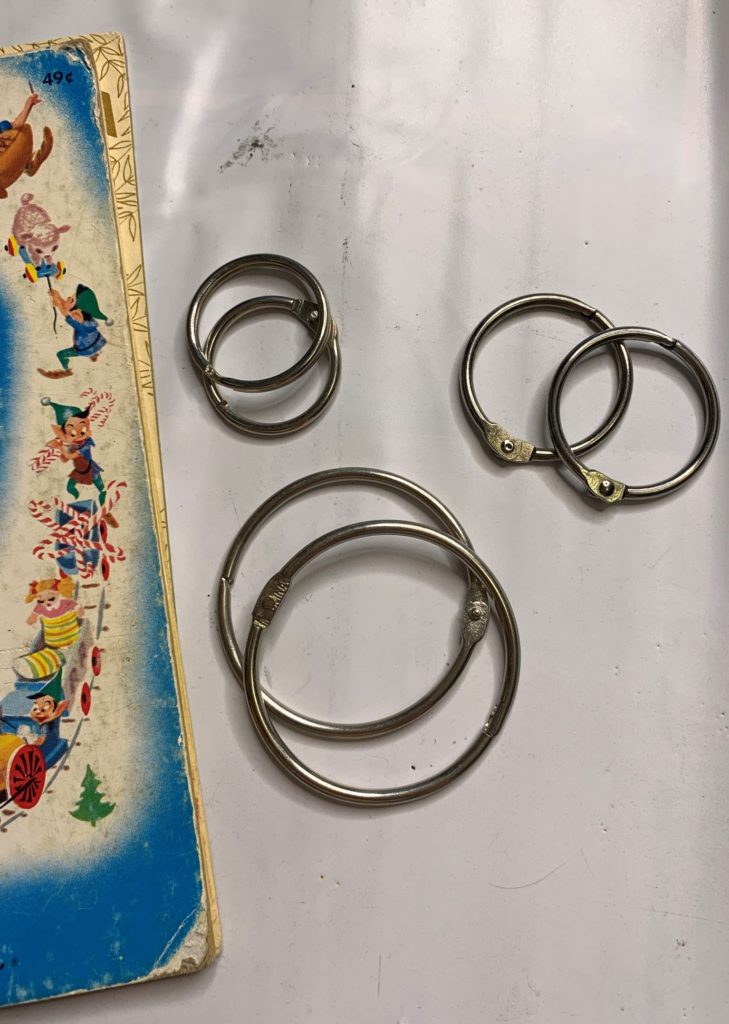
I would suggest using rings that are big enough to allow some flexibility when flipping pages. If the rings are too small in diameter, you are likely to have problems when trying to flip your pages.
It might be a good idea to choose your ring sizes after the pages are all assembled.
If you are in need of rings, I have some for sale. The larger size are 2 for $1.50, the smaller size are 2 for $1.00.
To punch holes in this style of scrapbook, you’ll need a good hole punch. I use the We R Memory Keepers crop-a-dile tool. This tool punches two sizes of holes plus can set eyelets. I don’t often use eyelets these days but I punch holes all the time–especially since I make so many mini albums.
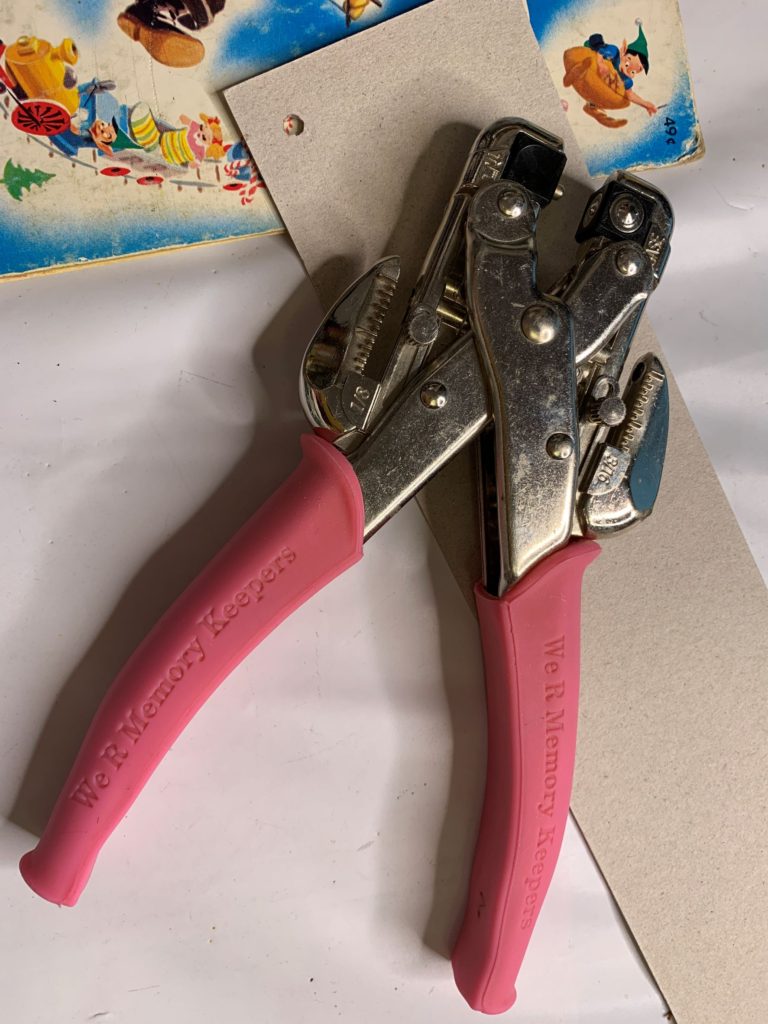
I’ve had this tool for ages and it still works like a charm. It will punch holes through thick cardboard. I’ve actually punched holes in wooden clipboards and CDs with this tool. It also works great on materials like leather.
Retail price of the Crop-a-dile runs around $56.00. Remind me I said so and you can pay $50.00 (tax included) but you’ll need to prepay before I order.
One of the things I worry about with punched holes is stability.
But remember reinforcements? Those little white rings to reinforce your loose leaf when you were in school?
I don’t have any white ones but I suspect they’re available at a stationary store. But I DO have some Tim Holtz reinforcements!
![]()
(These exact reinforcers aren’t available but there is a Prima brand available for $6.00 per pack.)
The ones I have are on various pattern papers. No matter the colour, you can always make them work by colouring or inking to change colours.
Tip: Don’t ever be afraid to change up a product by changing the colour. Sometimes a light coloured ink or white paint brushed over a gaudy colour can be just enough to tone a colour down.
And there’s also the Tim Holtz distress ink ($10) in the pumice stone colour.
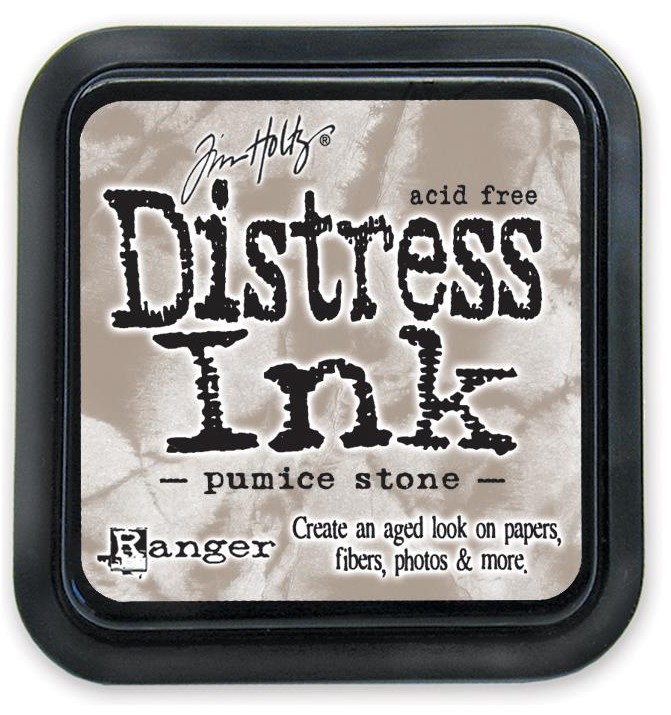
It’s what the master himself calls “the un-colour”. Apply this ink over your project to tone down or mellow out the colour.
Like magic.
2) Bind-it-all Tool
I also have a bind-it-all tool, a machine that creates coil bindings.

This machine is $140.00 although it’s currently out of stock in the warehouse.
I suspect my album may be a bit chunky simply because that’s how I work. I like lots of texture and layers. That style can sometimes make a coil binding more challenging.
But if you punch the holes as you make each page AND before you assemble the pages, it should still work. You also need to make sure the diameter of your coils can accommodate your pages as well.
One of the pitfalls of this type of binding is that turning the pages can be challenging at times, particularly if your pages are too thick or if you put embellishments too close to the spine BEFORE you punch the holes.
Not everyone owns a Bind-it-all tool. If you don’t but if you want a book bound in this way, let me know. But talk to me BEFORE you do anything so we can discuss the limitations of punching holes so that you can make accommodations before you create the entire project then find you can’t bind it.
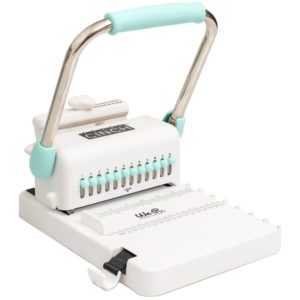
If you are interested in owning your own machine, this one is no longer available but We R Memory Keepers has three different styles of this type of machine. Their’s is called a Cinch and prices range from $130 to $200.
3) Create a spine
Normally, I’d create a spine for this type of scrapbook by cutting a cardboard strip that measures the same height as the cover.
It’s easy to do.
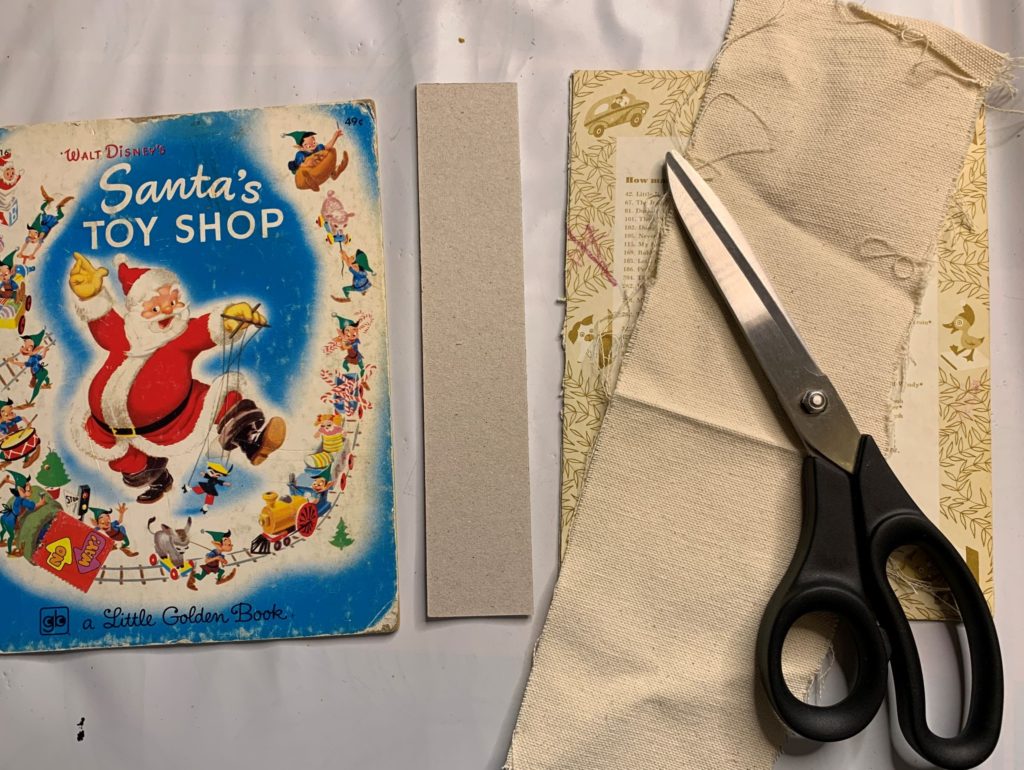
Make sure your cardboard or spine material is the same thickness as your cover. Cut it so it measures the exact same height. Then determine how wide you want it.
In my case, as shown in the photo above, I’d want about a 1-1/2″ spine. I am using a heavy cotton for the material but Tyvek (those tough nylon envelopes from Purolator or FEDEX) also work well.
You’ll also need to decide if you are covering this fabric later. Using the cotton, I won’t but if I were using Tyvek, I’d cover it with a pretty paper thin fabric.
Cut fabric about 2″ wider than your spine on each side. Also add about an inch to height. You also might want to cut the strip so that it completely wraps around the spine from top to bottom.
Attach cardboard strip to centre of fabric. Then attach fabric sides, leaving about a 1/4″ gap between spine and book edges. You can attach fabric to inside or outside of book, depending on the look you are going for.
Once attached, either fold down the top and bottom fabric edges and attach to book or trim edges to desired length and fray edges.
You’ll need to punch holes in the spine to sew pages in but that’s a whole other lesson. Let me know if you’d like to learn how to do this!
For gluing, use a strong glue such as Fabr-Tac or Scor-tape. I sometimes use a combination of those two products. If you’re good with a glue gun, you could also use it.
I’ve also used book tape to attach the spine but it’s very expensive and more challenging to work with since it’s SO sticky.
But remember, there is no wrong way to do it. Don’t be afraid to play around with materials, experiment, try things, and use what works best for you.
Here’s a couple of samples of fabric spines that I’ve done in the past.
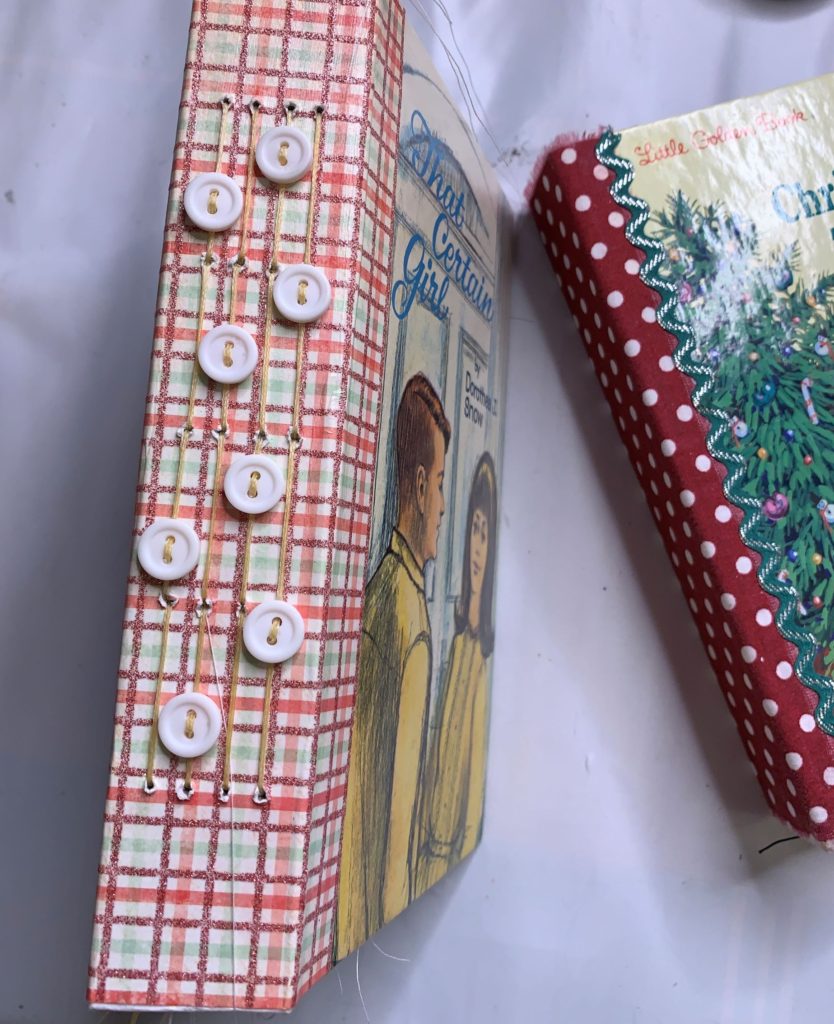
This is one of my favourite bindings for journal and scrapbook covers. I love the look of pages sewn into the spine. And adding buttons or beads looks even better. In the book on the right, I stitched pages in before I added the second fabric cover. That way the stitching is not visible.
4) Use a ring binder
When sewing pages into a book like the style above, you’ll need to cut papers double the width. For example, my 6″x8″ book would need pages to be 12″x 8″ to be the exact size of covers. I have decided I want single pages, 6″x 8″, so that means I either need to create some sort of hinge to attach pages to or I’ll need holes and some sort of binding method.
I’ve decided to go with a ring binder.

These Tim Holtz ideology rings attach easily with accompanying brads. These are no longer available from my wholesaler but I do still have one set of two available for sale for $6.00.
Watch for old cookbooks and journal or planner style books. You might be able to salvage rings or even an entire book to use as an album. Simply cover or paint the covers to personalize and you’re ready to fill with pages!
I’m going to have to create a spine piece for my scrapbook cover so I’ll go ahead and do that using the technique I mentioned above.
When I attach the rings, I use extra adhesive. I want everything to be secure so that the book can handle being passed around, ideally for years!
Before I assemble that I need to do a little prep work.
Preparing the cover
Because this story book has been around, I want to clean it to see if I can brighten it up and remove some dirty spots.
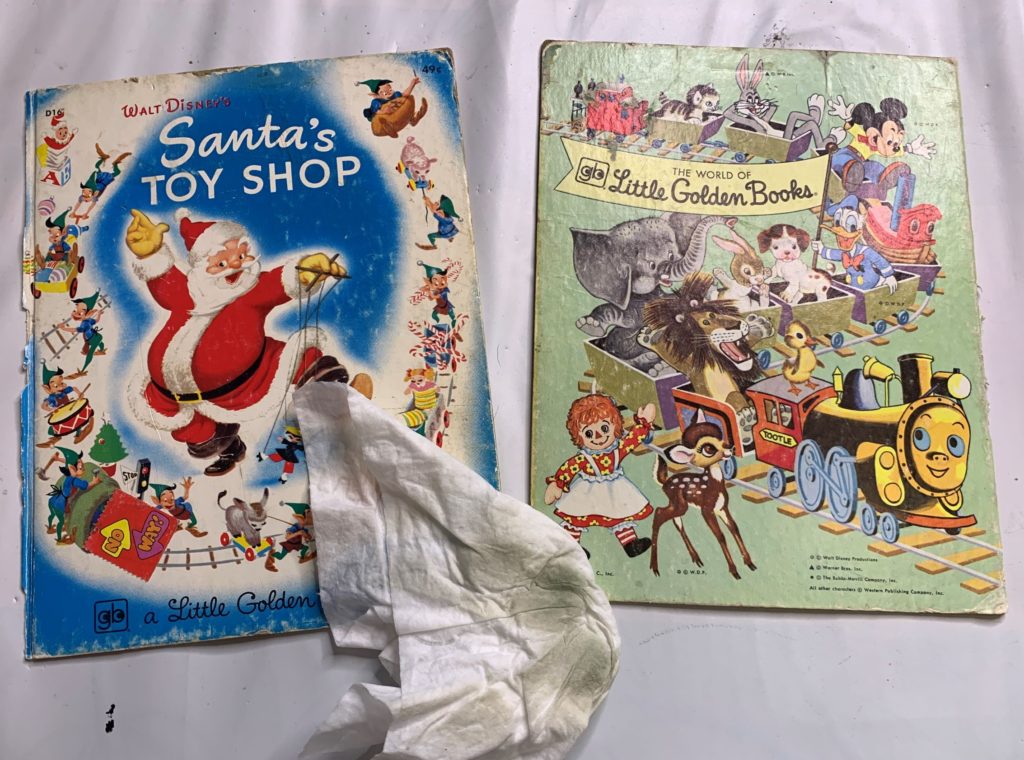
When cleaning a book, you’ll want to be gentle. I like to use a baby wipe–and try to avoid wipes that are sopping wet. Too much water or liquid could damage the paper cover so wipe carefully. You can see how much dirt I removed from this cover.
I noticed the corners of my cover are a bit soft. I’ve got some metal corners I can add. They’ll look decorative plus protect those edges.
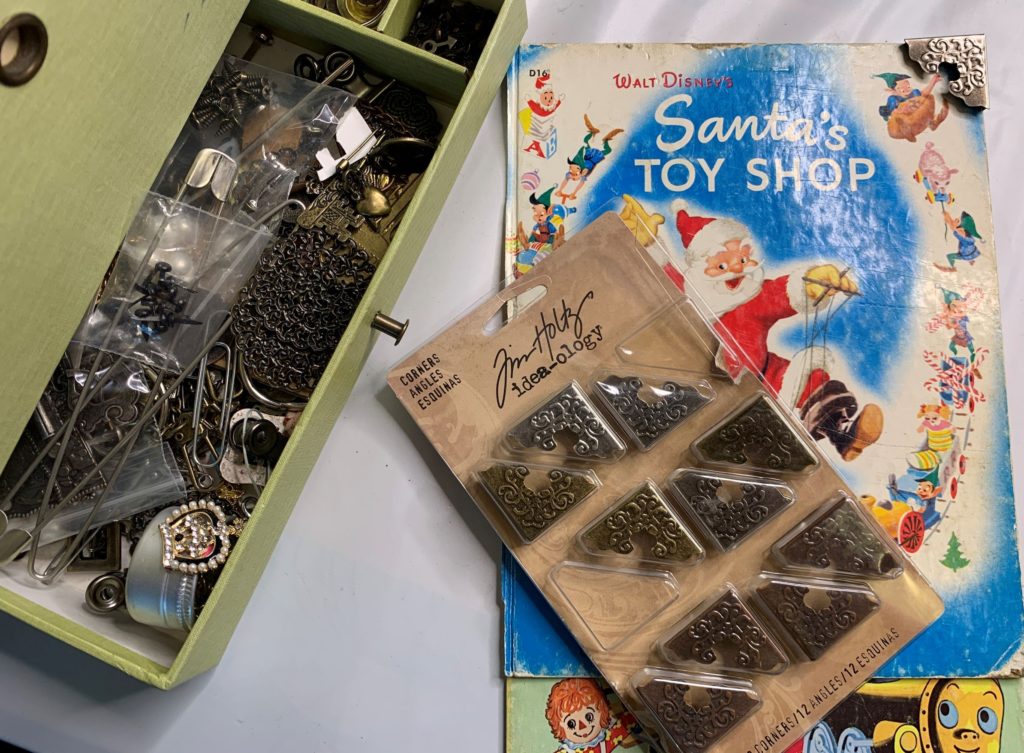
You can order these corners for $12.00.
(I’m also looking into some less expensive brands in bulk so let me know if you’re interested!)
Adding some glam to the cover
Now that my cover is prepped and holes are punched, I notice the edges are a little rougher than I want.
I’m fixing those up with a little gold glitter.
I’ve been wanting to try this Tacky When Dry ($11.00).
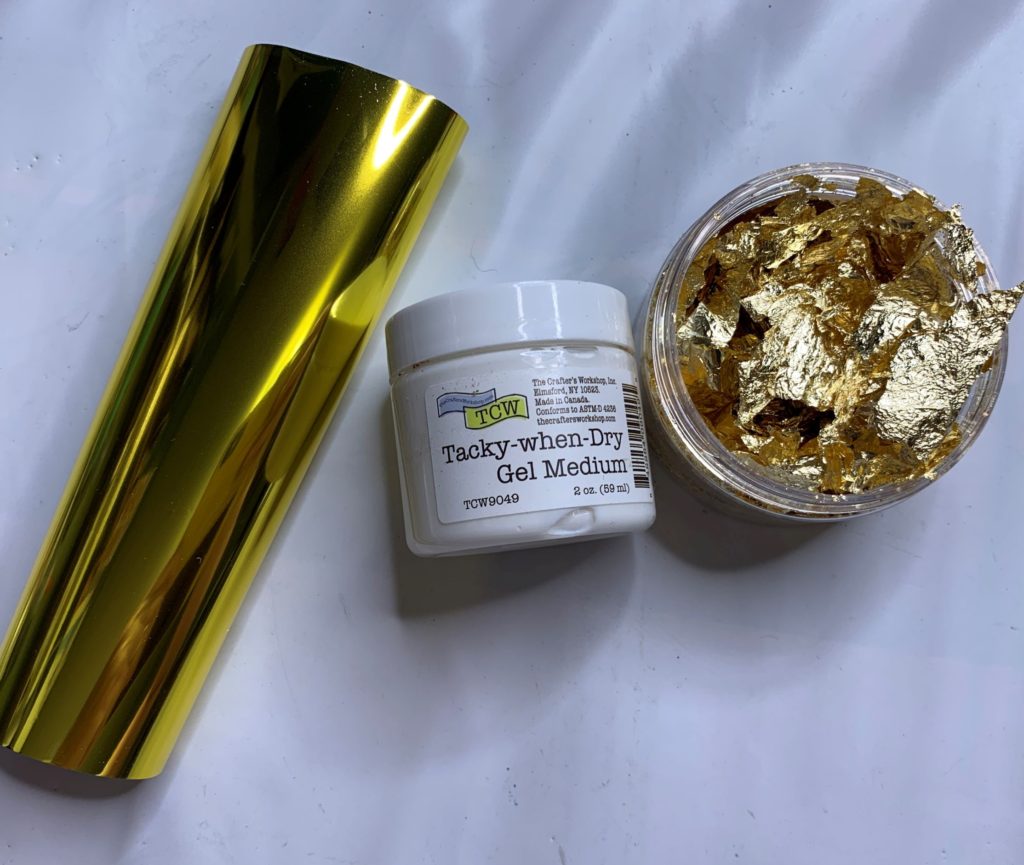
I have a couple of gold products that will work with it. One is the gold Deco-Foil ($7) and the other are Sizzix Effectz Decorative Metallic Flakes ($6) in gold.
Here’s how I do it:
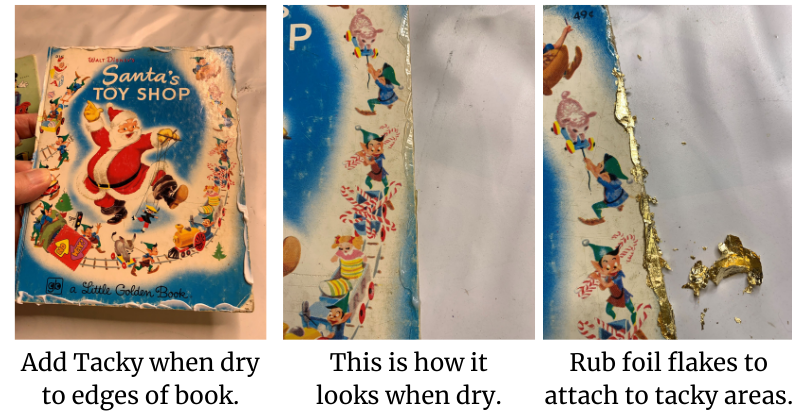
I have to say I love this stuff.
An extra tip
I wanted to try the Tacky When Dry with foil as well. I know many of you purchased foil and just never used it as much as you’d hoped.
This product could be what gets you using the foil. Whether you are freehanding designs, covering Cricut letters, or using stencils, this product is a dream.
I used a stencil to apply the Tacky When Dry. After letting it dry, I applied the foil.
Take a look at the steps:

Final touches to the cover
Between the condition of this old book and the addition of gold flakes, I know I want to add some protection to my cover. I’ll do that with a sealant.
These are two that I currently have in my own personal stash.
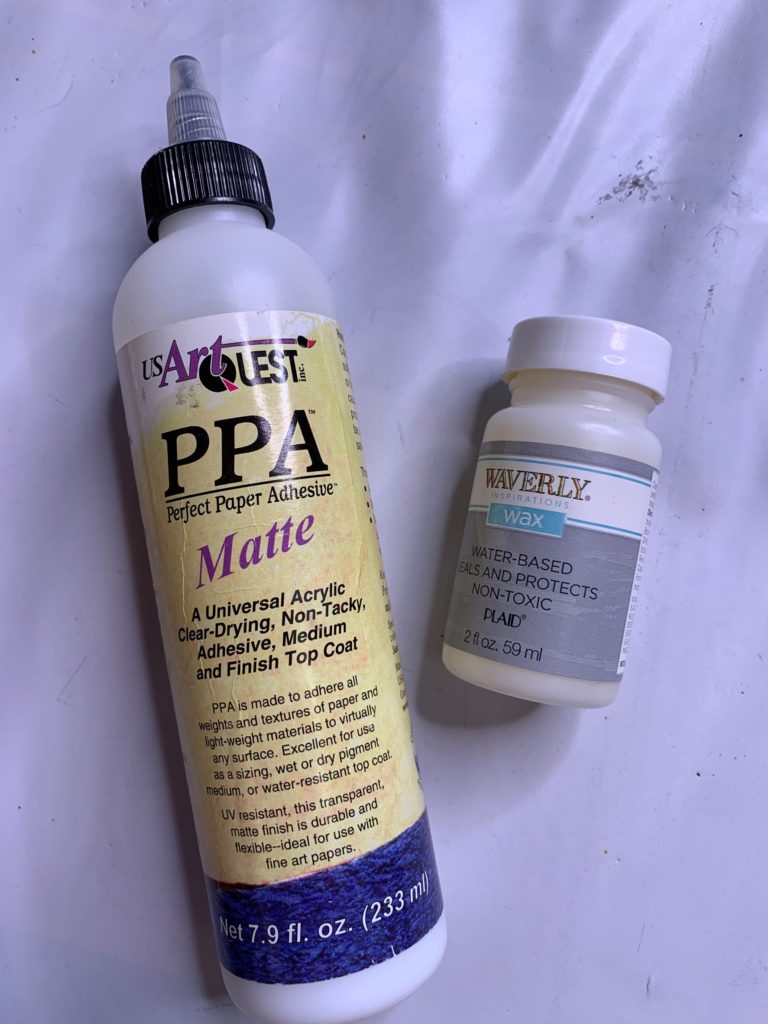
I don’t think it matters what sealant you use.
These are two that I currently have in my own personal stash. The PPA is available in both matte and gloss for $11 (4 oz. bottle). I’m not sure where I picked up this wax but there are similar brands available through my wholesalers.
You might have something in your painting materials that would work. Clear gesso could work. Just be sure that it doesn’t dry tacky as some do.
Depending on the look you’re going for, beware that some sealants may cause yellowing. To be honest, I don’t have enough experience with sealants to advise. I don’t use them often.
In closing…
I had hoped to show you my finished cover but alas, I ran into all kinds of little issues. I’ll show you the finished product and tell you about my troubles in the next post.
You’ve got plenty to keep you going on your own covers.
Be sure to comment in the Comment section of this post. You can also head on over to The Scrapbook PLAYroom to share photos of your projects and comment on this project!