How would you like to be able to quickly put together hand-made mini albums for gift giving or for your own personal keepsakes?
I’ve got a quick and easy project that will do just that for you.
Want a printable PDF of these mini album directions? Go HERE to get a copy.
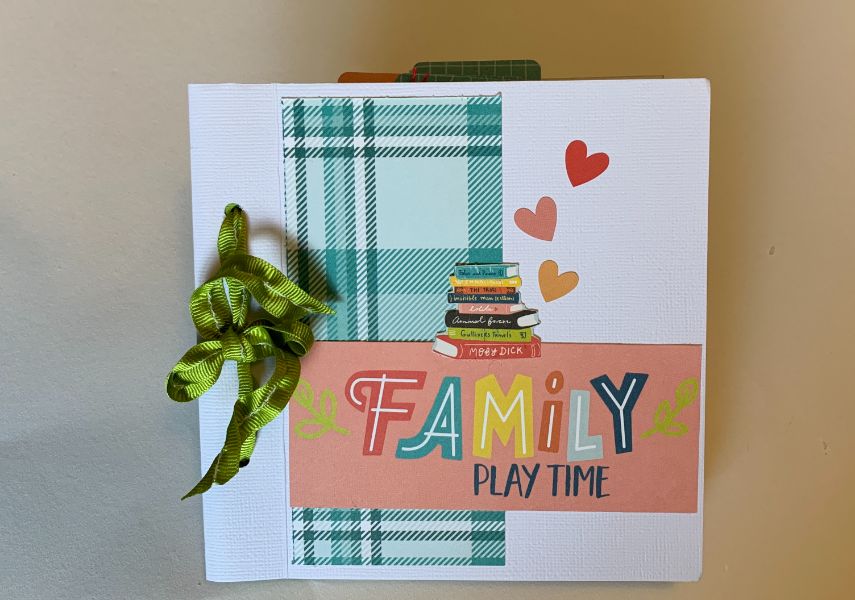
This mini-album is so quick and easy.
And I’m not kidding. It’s so easy that I’ve been whipping them up in virtually minutes. It’s safe to say you can easily complete one of these mini albums in less than a day.
What you’ll need:
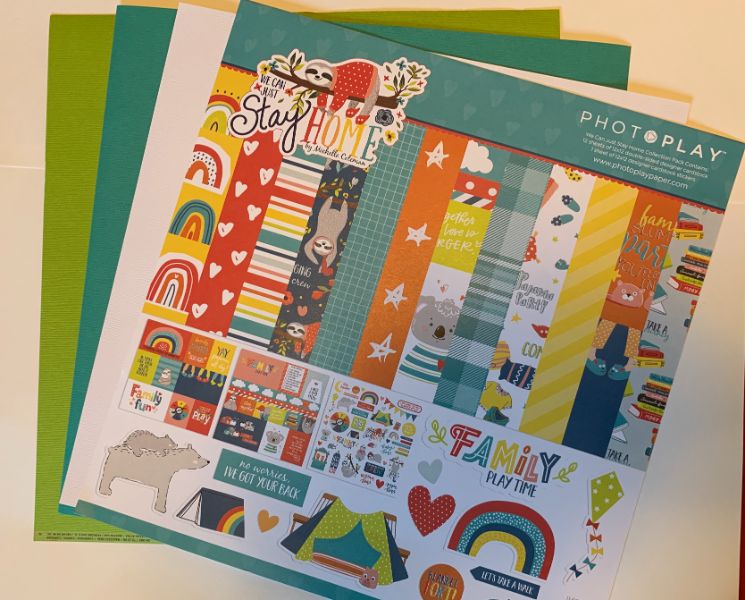
6 pieces of cardstock (I used two of each colour)
Paper pack or assorted pattern papers and embellishments
Paper trimmer
Scissors
Adhesive
Let’s make the pages
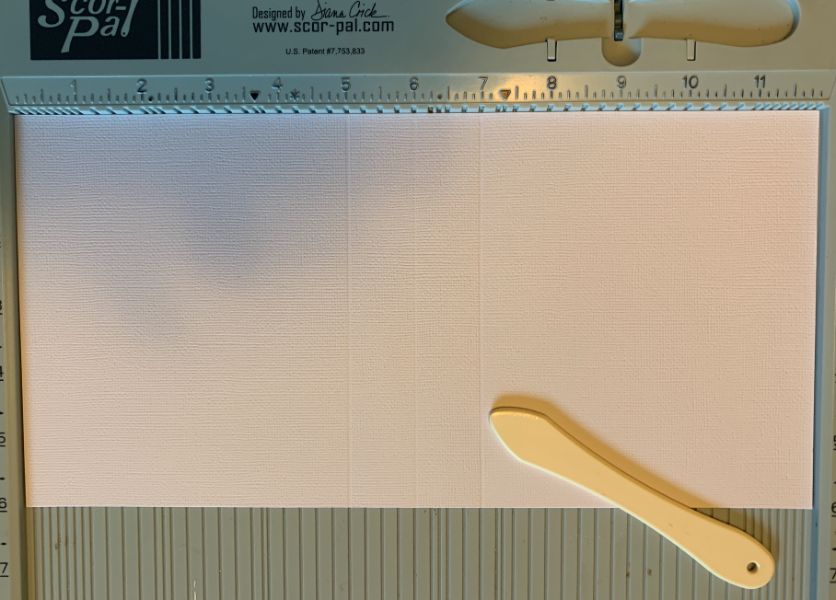
First off, check to make sure your papers are true 12”x 12”. There’s nothing more annoying than your measurements being off after you trim.
We’re going to cut all the papers to 6”x12”.
Take your cover piece and score at 5”, 6” and 7” on the long side. Set your cover piece aside.
For the pages, I like to do a further trim to that 6” edge to make it 5-7/8” so that my papers will not hang out the cover. If you’re not worried about that, just leave them at 6”x12”.
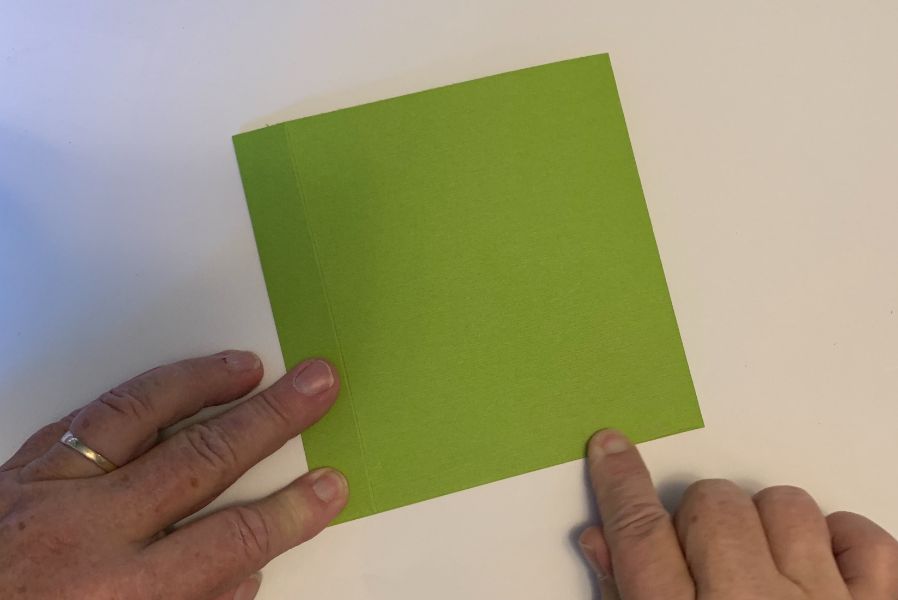
 Score each page at 1”, 6” and 11”.

Again, I’ve added a step; I like to fold my pages at the centre score line. Your 1” edges will now be together. Trim 1/8”-1/4” off that 1” edge so that it’ll fit nicely in your spine.
Why I measure like I do
You might be questioning why I didn’t simply cut these papers to the sizes I wanted. The reason is I think it’s much easier to work with those standard measurements and then trim down accordingly. It’s much harder to make mistakes that way!
If you don’t like those extra steps, don’t do them! The thing to remember is we may notice slight imperfections in our work but things like a little overhang on pages will not likely be noticed by the album recipient or anyone looking through a finished album.
Back to those pages; stack pages so the 1” scored edges are to the left. Open each page and add glue or adhesive to the bottom only to seal the page, creating a pocket. I like to use glue as tape never fully dries and you may find tags or photos will get stuck against the tape in the pocket. But if you only have tape, use it!
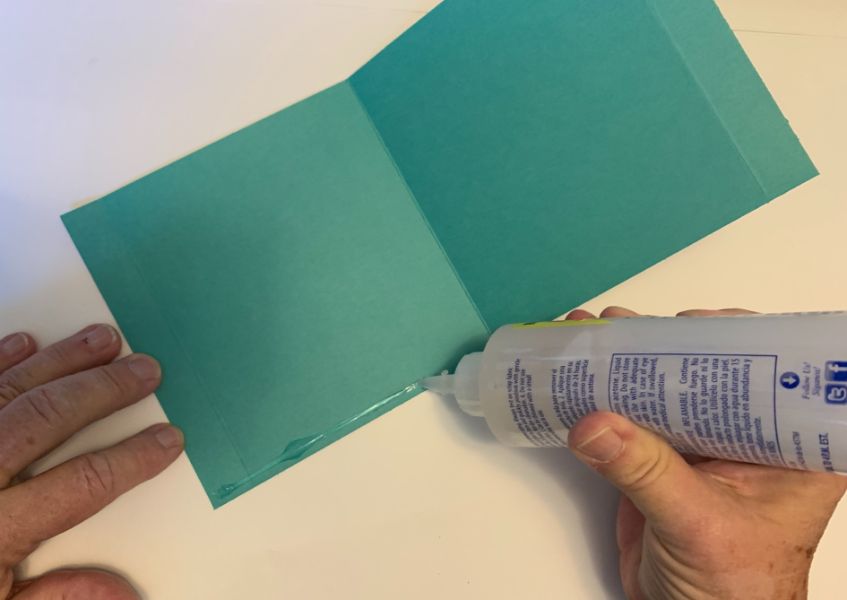
We’re gluing all five pages so we’ll have five pockets. Sometimes I cut the pages in half at the 6” score line to make two pages. Or I cut off the 1” score line plus another ¼”-1/2” on one side so that it creates a flip out page.
Assembling the album
Now that your pages are glued, stack them in the order you want them to appear in your album.
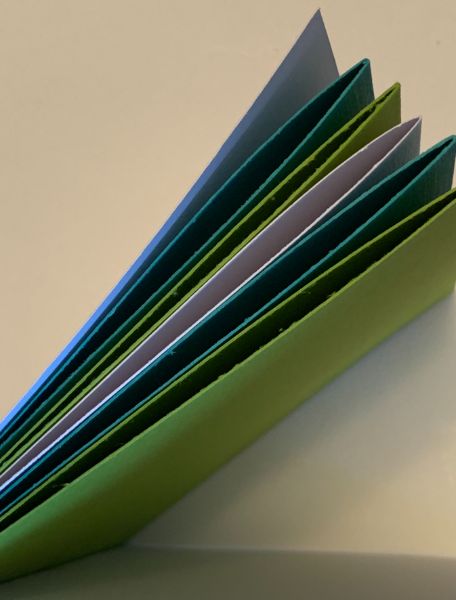
Place the 1” scored edges into the 1” fold on the cover piece. Use a binder clip to hold in place.
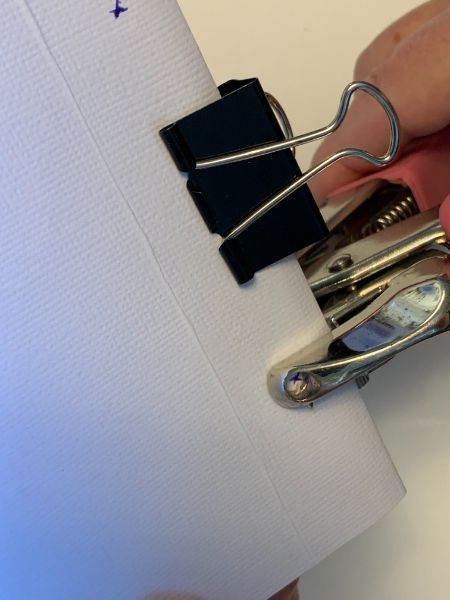
Measure holes. I measure the centre point, then go 1-1/2” up and down from the centre to make holes.
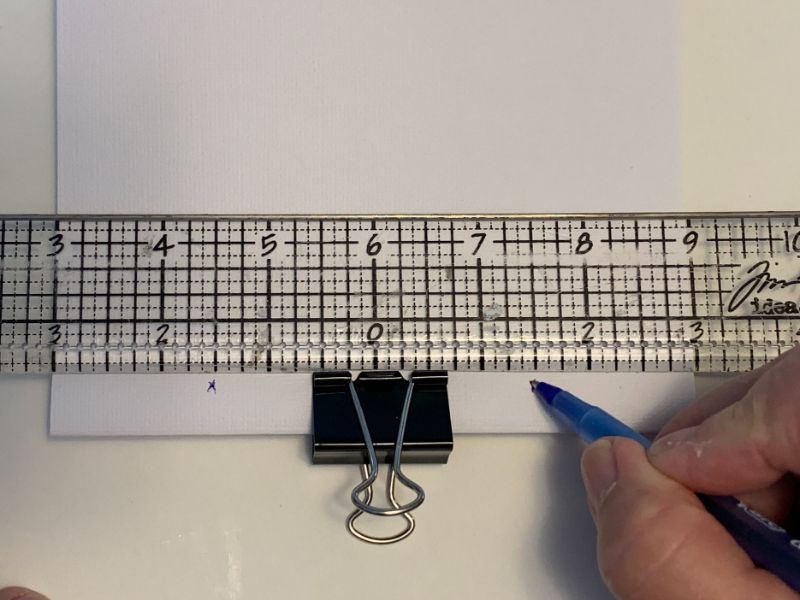
Tie ribbon or string through the holes to bind your album. You can also use brads if you have some long enough.
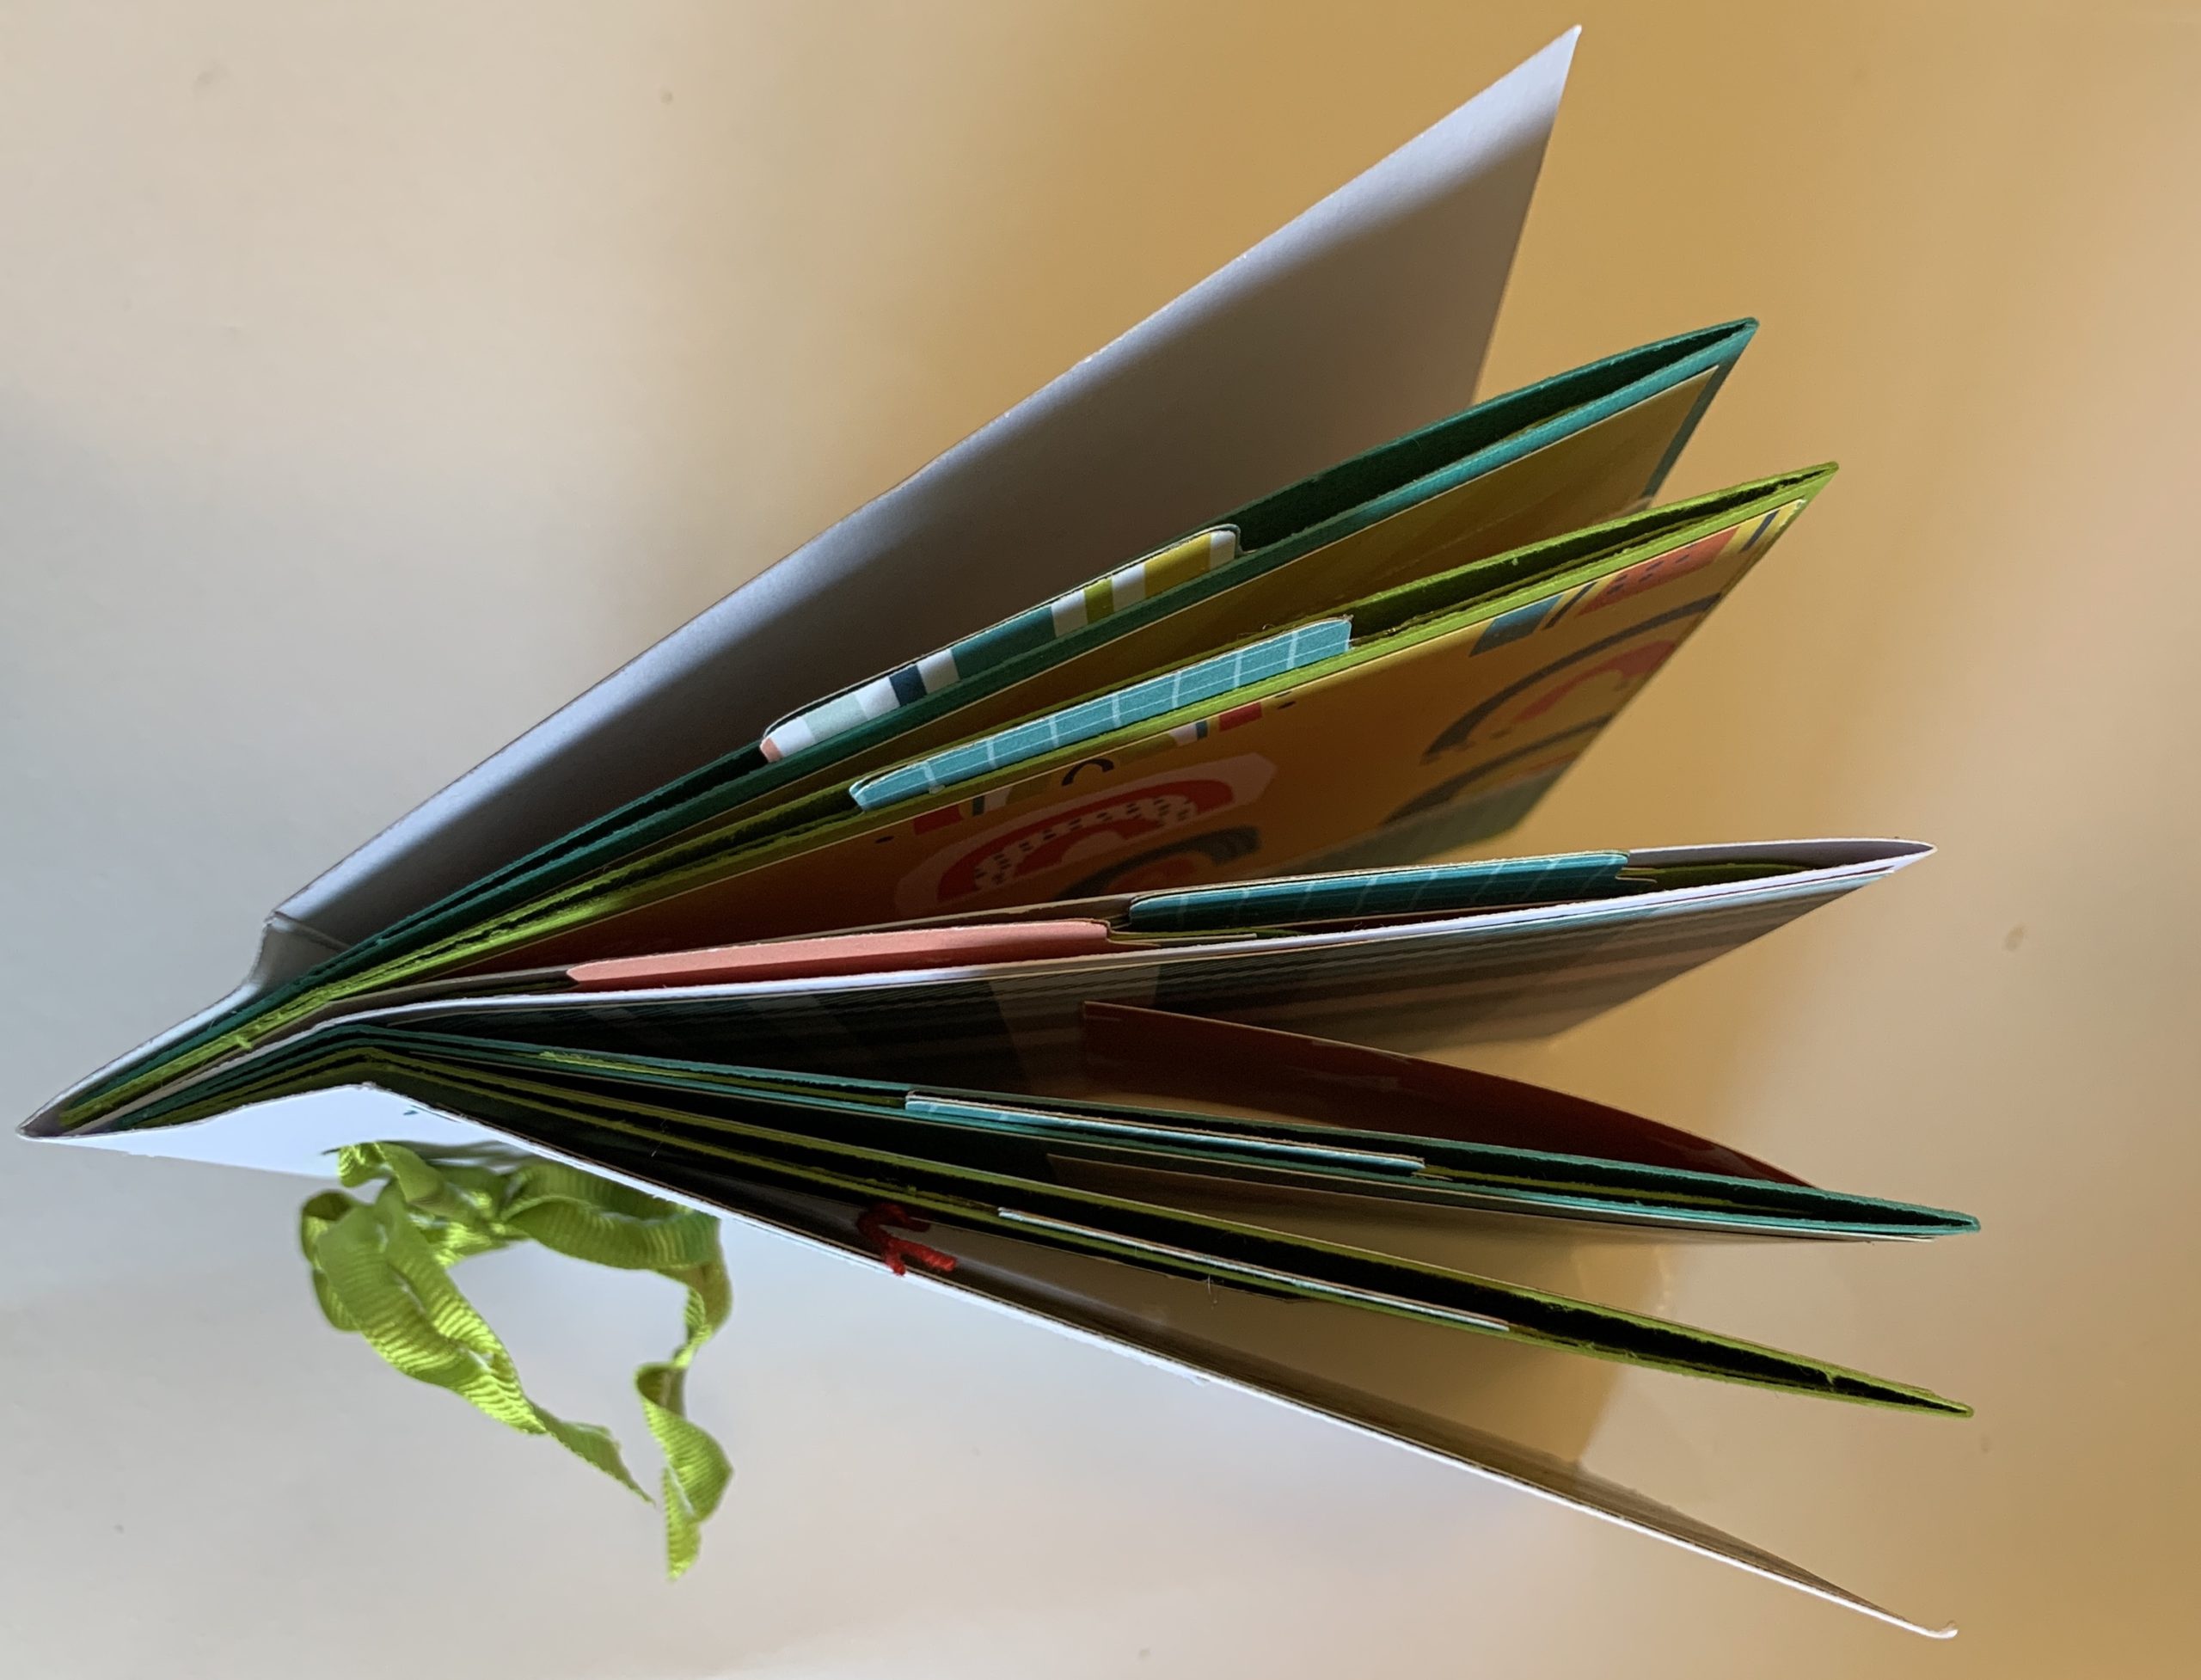
That’s it! You have a super-easy mini album.
Covering the pages
For this album, I used Photoplay’s We Can Just Stay Home paper pack. Use any paper you want. Of course, you can use any odds and ends you have around but the great thing about using a collection kit is that everything is coordinated. Plus, these kits have plenty of little quotes and stickers to use for embellishing.
The measurements
I measured my pages to be sure; 5” wide by 5-3/4” tall so I knew that I wanted to cut my mats to 4-3/4” x 5-5/8”. Cut your mats, at least your first one, bigger rather than smaller as you can always trim to fit. I like to have the same amount of space showing around each edge. If you don’t care about being that accurate, just use my measurements.
Here’s an article that shows how I decorated the pages in this album.
To keep this album super-simple, don’t even mat the pages. They’ll be fine as is. Just add photos and it’ll still look great.
What to do with your album
Do you only work in 12″x12″ albums? Or maybe you do pocket scrapbooking? You might be hesitating about trying these instructions because you don’t know what you’d do with a mini album.
Here’s a few suggestions:
- Turn it into a brag book
- Give it as a gift
- Take pictures at a birthday party and fill the album on site for the birthday girl/boy
- Make several and use for your vacation photos
- Use it for a journal
- Add one more page and use it for a December Daily countdown to Christmas
Now that you’re finished your album, don’t you agree that these albums are just too darned cute?
Let me know in the comments how these instructions worked for you. And be sure to share a photo of your finished project.
3 Responses