Have you ever started tidying your paper stash and been surprised at what you found?
That’s a challenge in itself!
Long forgotten papers. Old favourites from companies that no longer exist. And colours and designs that you either would have never used before or that suddenly match something else you came across perfectly!
That’s how I stumbled across the papers I used in The Scrapbook Room’s January Page Challenge.
I am amazed (read that as appalled, shocked, embarrassed etc.) at HOW MUCH paper I have stashed away! It’s definitely time to use some up.
The January page challenge can help with that since there are a few conditions.
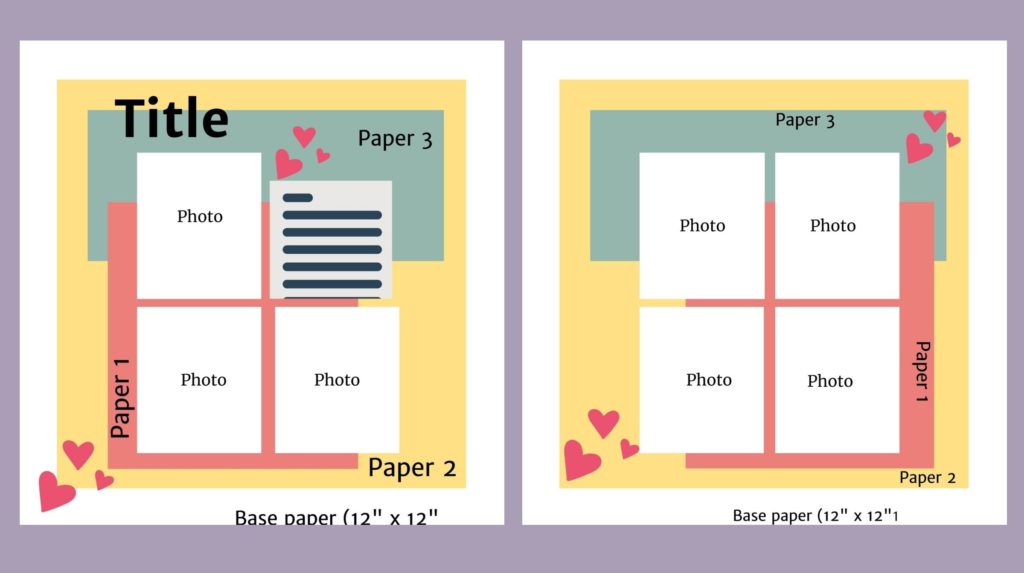
Here’s the January sketch:
In addition, there were a few rules:
You MUST use at least TWO different pattern papers.
You MUST use the word LOVE somewhere on your layout.
You MUST have at least ONE HEART (any colour!).
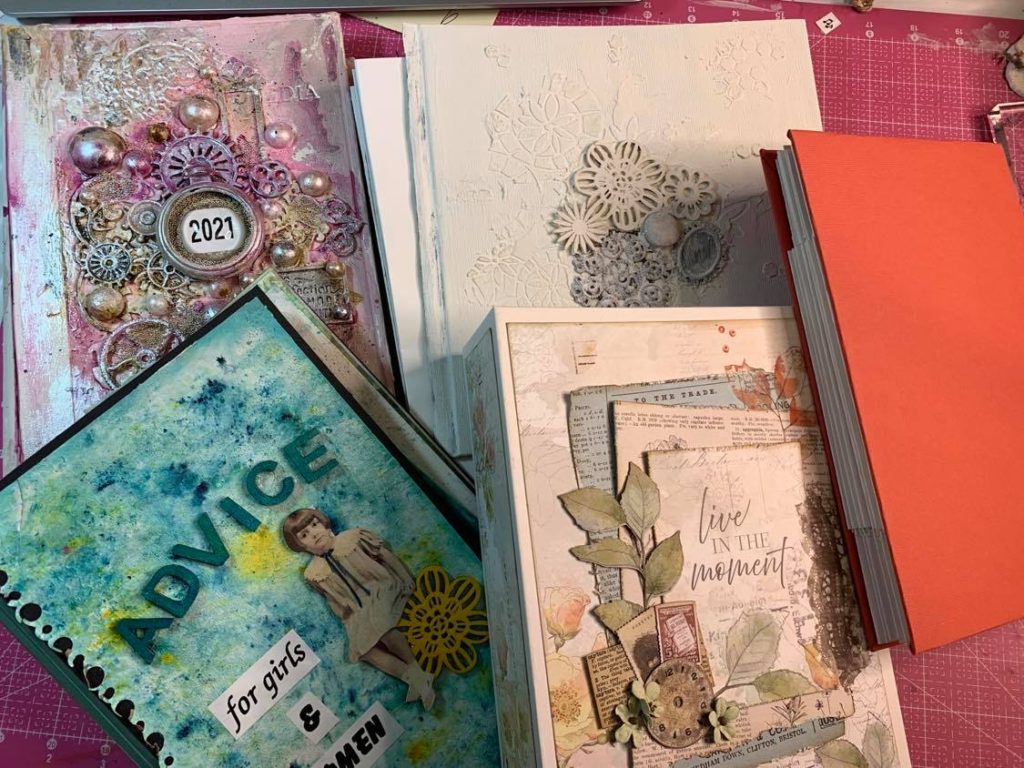
I’ve been on a mini album creating binge so I made myself an album that will be home to each of the monthly page challenges this year.
My album for this project is the white one you see pictured. I’ll be doing a video of how I decorate the cover soon.
The album measures about 8-1/2″ x 8-1/2″ so I simply adjusted the challenge sketch accordingly. Don’t be afraid to repurpose sketches to your liking. For example, turn it sideways. Switch the right and left pages. Use different elements. Or different sized photos. It’s meant to “challenge” you so don’t ever let it stop you. Use it as it works for or inspires you.
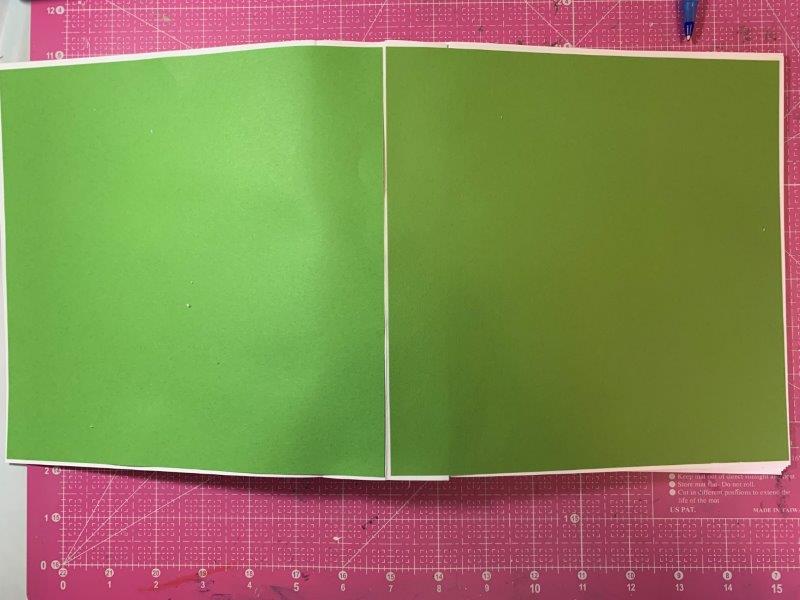
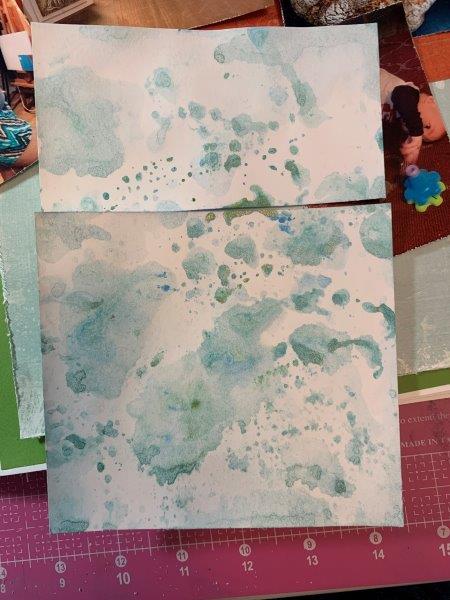
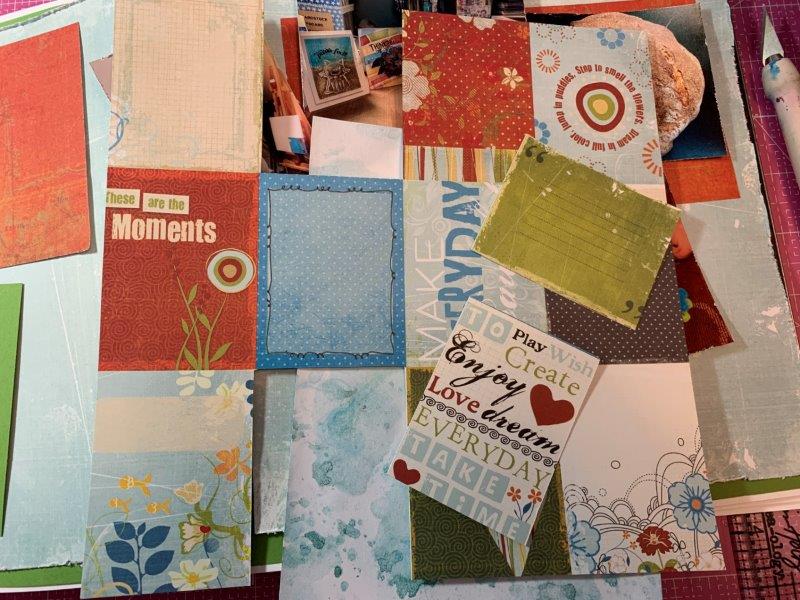
Back to my handmade album; my pages are not as heavy as I’d like them be so I start by firming them up with some green cardstock. I chose green because it matches some of the embellishments and papers I’m planning to use. The paper pack I’m drawing from was called The Daily Grind, by Fancy Pants.
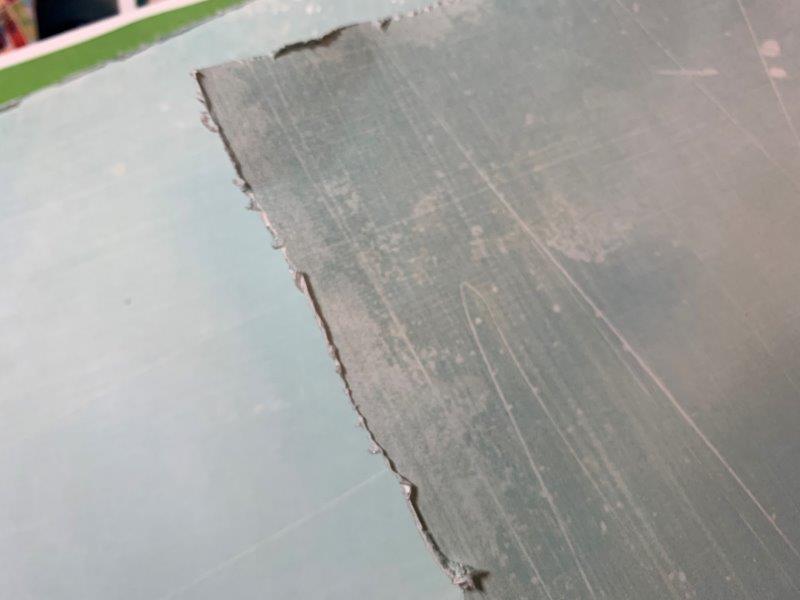
The pale blue background paper in this pack caught my eye. To me it signified January; coolness and the distressed white spots on it reminded me of snow.
The blue lines looked stark against the green so I used my Tim Holtz paper distresser to rough up the edges a bit. Then I applied Scor-tape to the edges before attaching to the page. I like to use Scor-tape on larger pieces because I know it’s going to stick and hold in place.
Next I found some orange paper for the two top squares. This was a random piece in my scrap folder so I can’t recall where it’s from. I knew the colours matched what I was doing.
The bottom pattern is a scrap of watercolour cardstock that I’d simply rubbed in some leftover distress paint while working on another project. I loved how it looked and knew I wanted to use it somewhere. This was the perfect spot.
I didn’t even cut equal sizes for both pages. I wanted them to be slightly different. That they are the same pattern is what would tie them together. Don’t feel that sizes need to always be mirror images of each other.
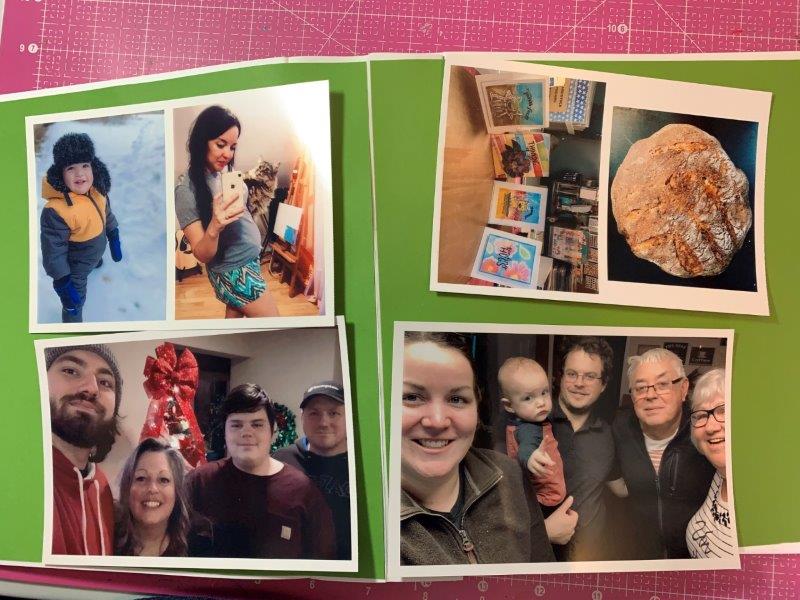
Once this was in place, I added my photos to the layout. I trimmed off the white borders and roughed up the edges with the distressing tool. This can provide the same effect as matting a photo, especially if you like a distressed look to your pages. If you don’t have a distressing tool, you can use the edges of your scissors, a piece of sandpaper, or a nail file to distress the edges.
These are the photos I started with but I ended up eliminating the bottom left photo. I’d already used it in my Christmas book anyway. I had too many photos and I didn’t want the Christmas background on my January page. Don’t be afraid to edit out photos for your pages. Sometimes LESS is MORE!
I used my Canon Selphy printer to print my photos. I love that I can easily choose and print the photos I want for a layout. The cost per photo is a little more than ordering from a place like Black’s but I’m not spending money on photos that I’ll never use.
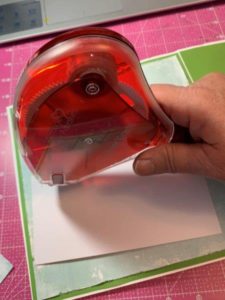
I have fallen in love with this E-Z Runner Grand adhesive dispenser since pulling it off my shelf recently. I must admit, I really didn’t expect to like it as much as I do. It’s so easy to handle and while it is $30 to purchase initially, the adhesive is equal to more than four rolls of Scor-tape. There are a couple of varieties of adhesive including tiny splits, tabs and sticky dots. I’ve been using the splits but will be trying the tabs next. Refills are $15.00 compared to $8.00 per roll of Scor-tape so a good value. And I can keep my Scor-tape for when I’m sticking books together. Because I’ll never NOT love Scor-tape!
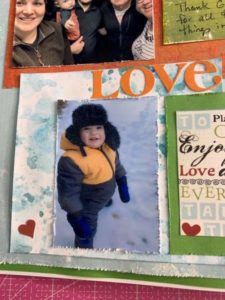
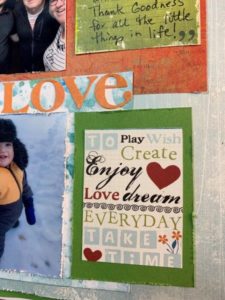
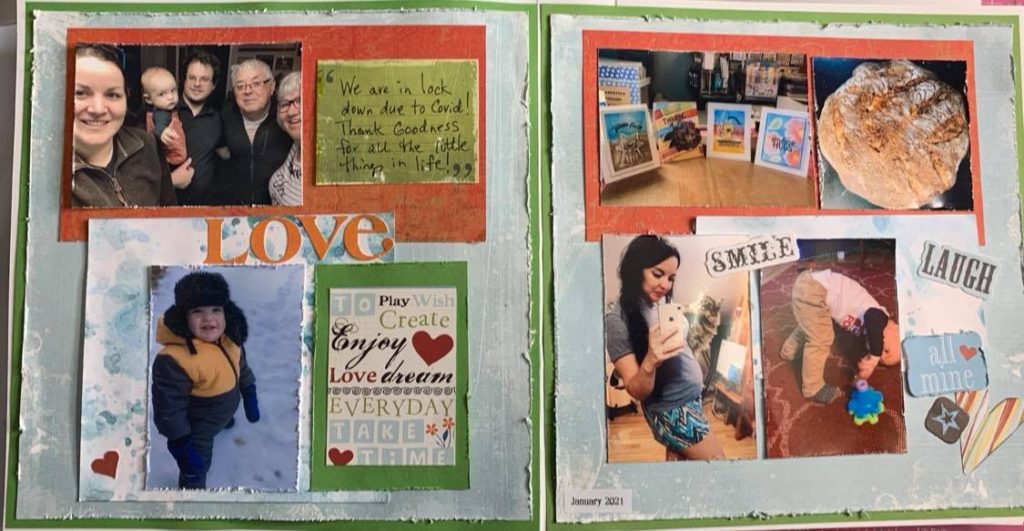
This is my left-side page. After I started the layout, I remembered I’d included some conditions along with the sketch so I double-checked my original post. The little quote square from a cut-apart sheet in the paper pack already had a heart in it and I knew putting the word, “LOVE” above it would fit perfectly.
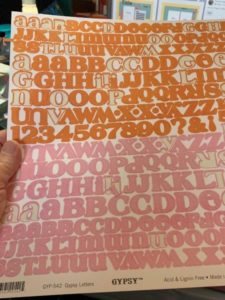
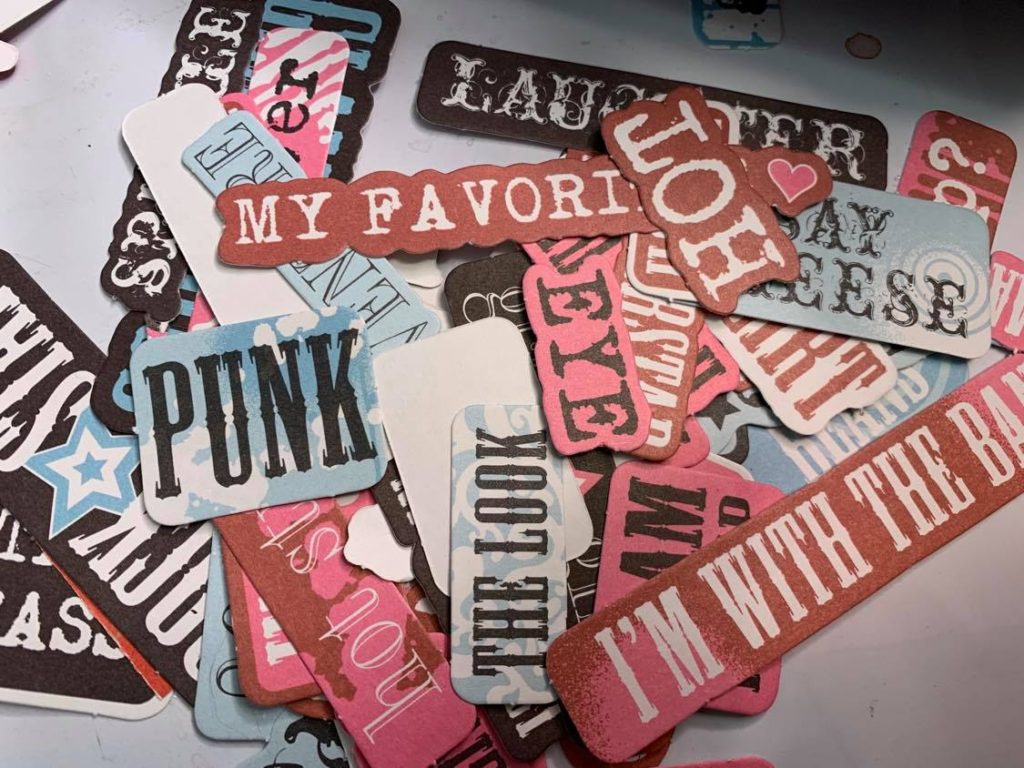
And I’d come across a bunch of sheets of cardstock letter stickers while sorting paper that I hadn’t had the heart to dispose of and told myself I’d use in the future. Anybody else have a bunch of these around?
The orange coloured letters worked perfectly and when I added it to my page, the positioning allows you to read downward;
LOVE To play, wish, create, enjoy….
It was exactly what I wanted the page to depict.
The words included everything that was in my photos. We were in lockdown in Ontario at the time I created this and, as much as I dislike “lockdown”, I love having the time to do all of these things.
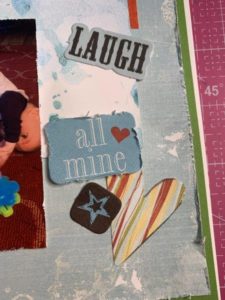
On the right side page, I added some small paper pieces that I’d punched out of another random sheet I’d come across in my organizing.
I think it’s very helpful to pull these sheets apart and have them near your workspace in a little box or dish.
That way, they are easily accessible to use for little additions to your pages. Also be sure to layer at least three different items together. If you only have two, even using a background cardstock square or something similar will add to the look. Just remember, 3 or 5. Odd numbers of items.
I printed a tiny label from my label maker with the date to put in the corner of this page, added a couple more paper words to fill some space and this page is done.
And that was it. My January scrapbook page challenge layout was completed.
I’ve been so busy doing journals that I’d almost forgotten how fun it is to actually do a layout!
Here’s the final layout:
What do you think? Is it time for you to go and look through your stash and see what matches? You could even pull out some coordinating papers from the past and build your own page kit to work with. Think about ways you can bring old papers new life.
You can also use my January page challenge to create your own layout.
And if you want to get in on the draw for $10 towards a purchase at The Scrapbook Room, go and join the private Facebook group and get your layout posted before February 6th. I’ll be doing a random draw from all entries.
(Click here to join The Scrapbook PLAYroom. It’s FREE!)
Want to keep up to date on everything The Scrapbook Room is up to? Subscribe to my email list. You’ll get FREE instructions to make a mini album at the same time!


One Response